Sunday, December 03, 2006

princess party 2006


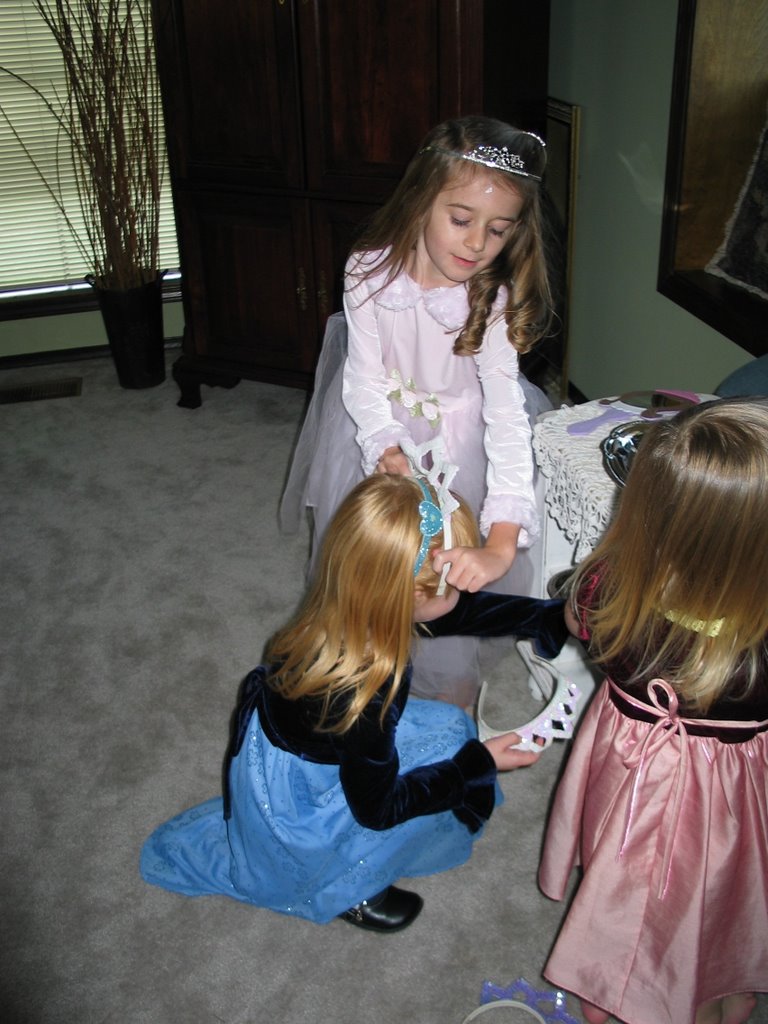
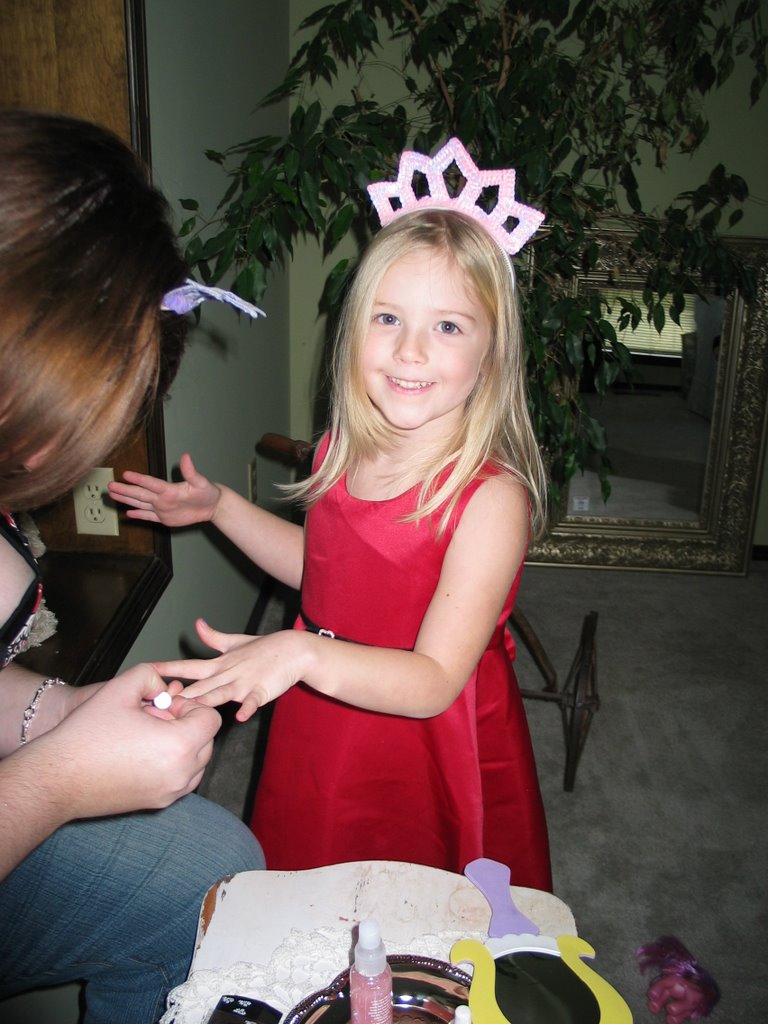
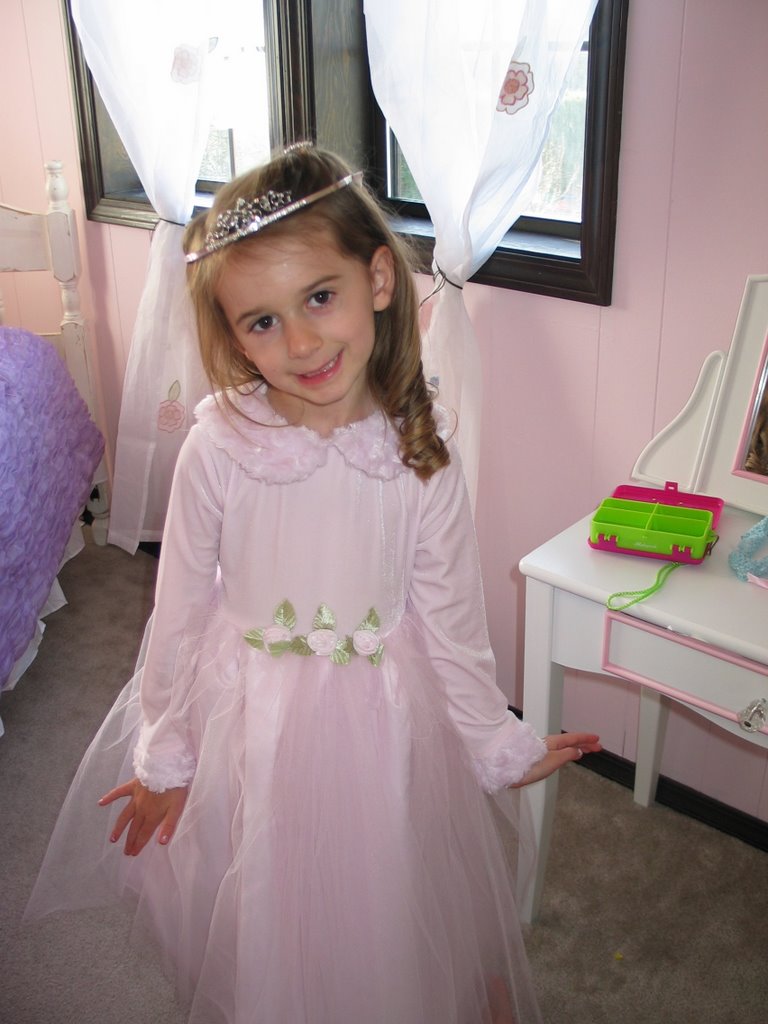
Princess Natalie on her 6th Birthday.


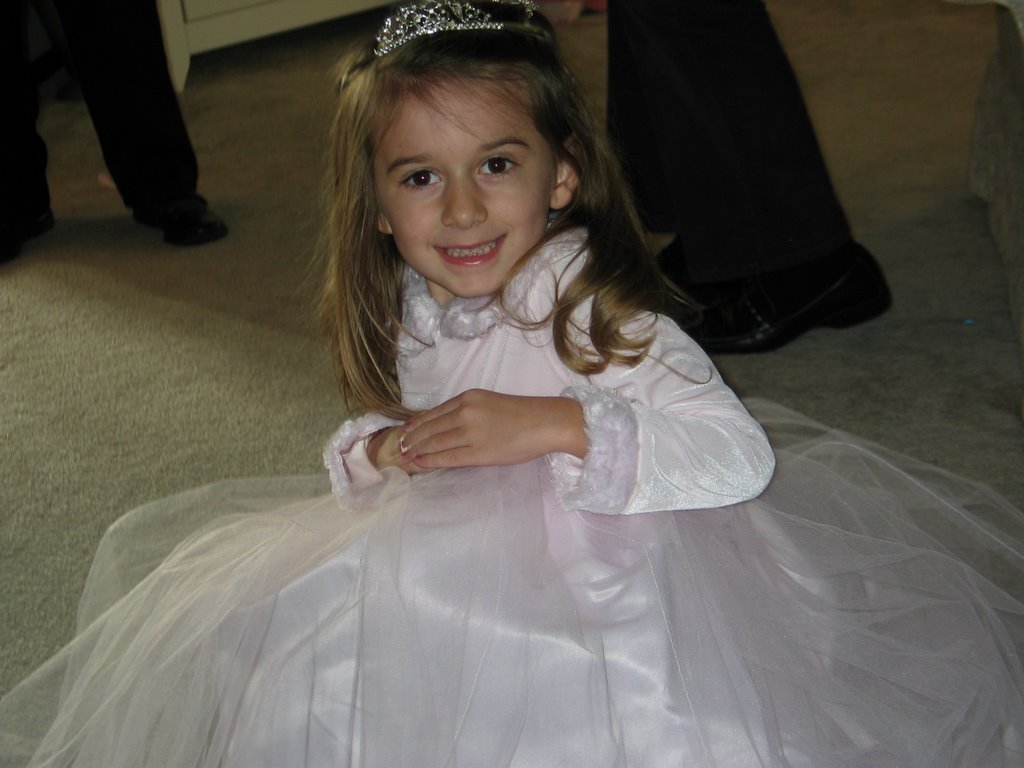
As the guests arrived, Natalie crowned each of them with a sparkly tiara.
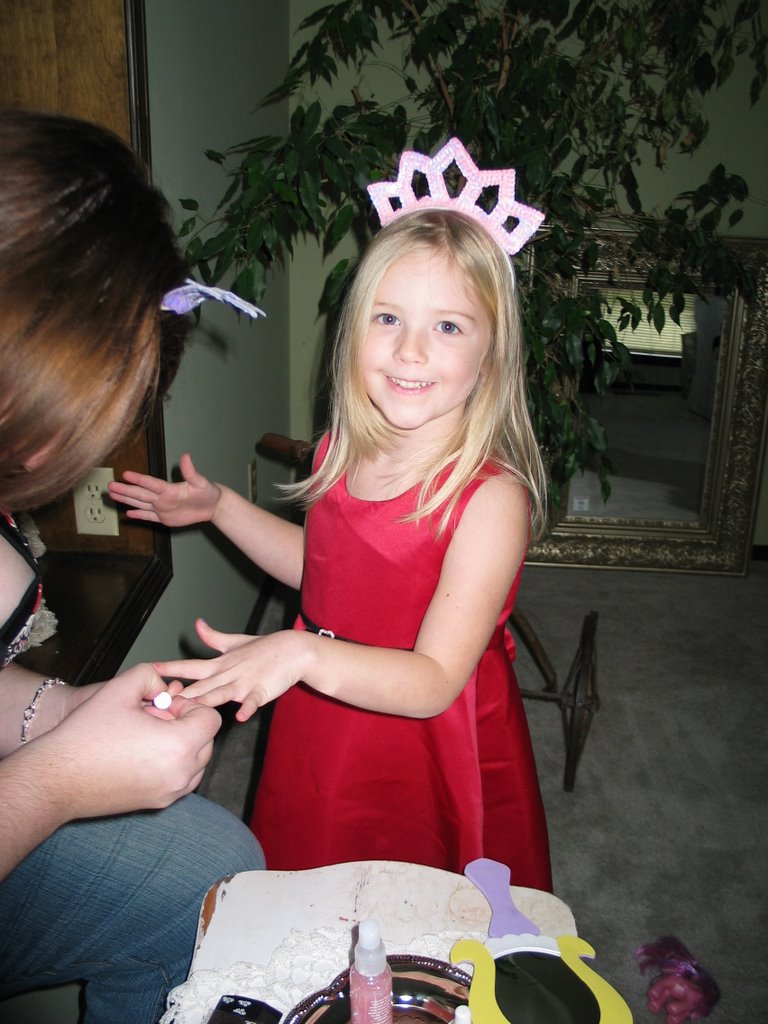

Then they got a glittery manicure and and a spritz of body glitter. While they waited for their nails to dry, each guest had a picture with the birthday girl on her throne.
Although Prince Zander didn't get a makeover, he did participate in the other activities.
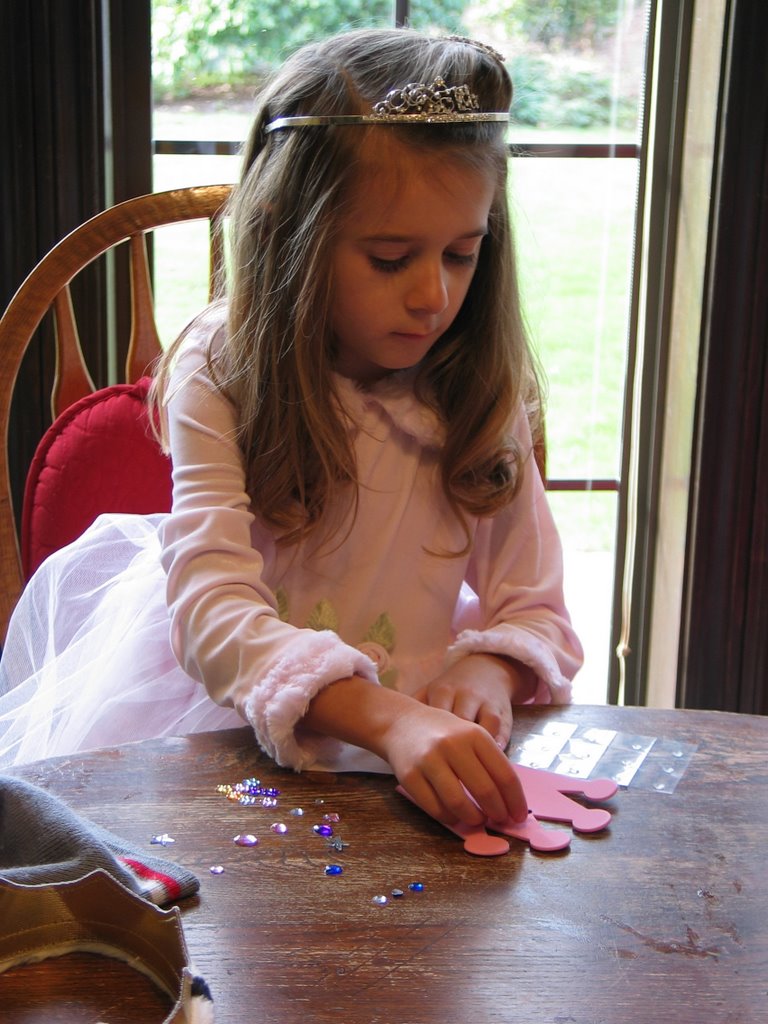
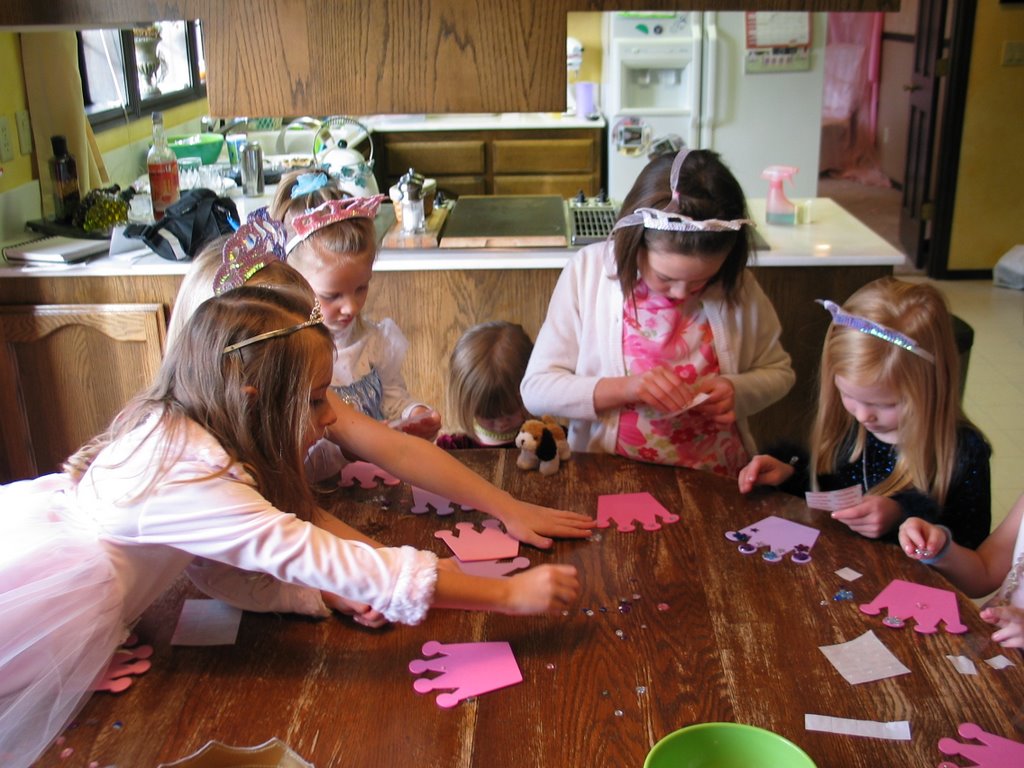
Once everyone had their picture taken it was time for crafts. Each guest got to decorate a tiara frame and then they embelished magic septors.

These are some of the completed crafts.
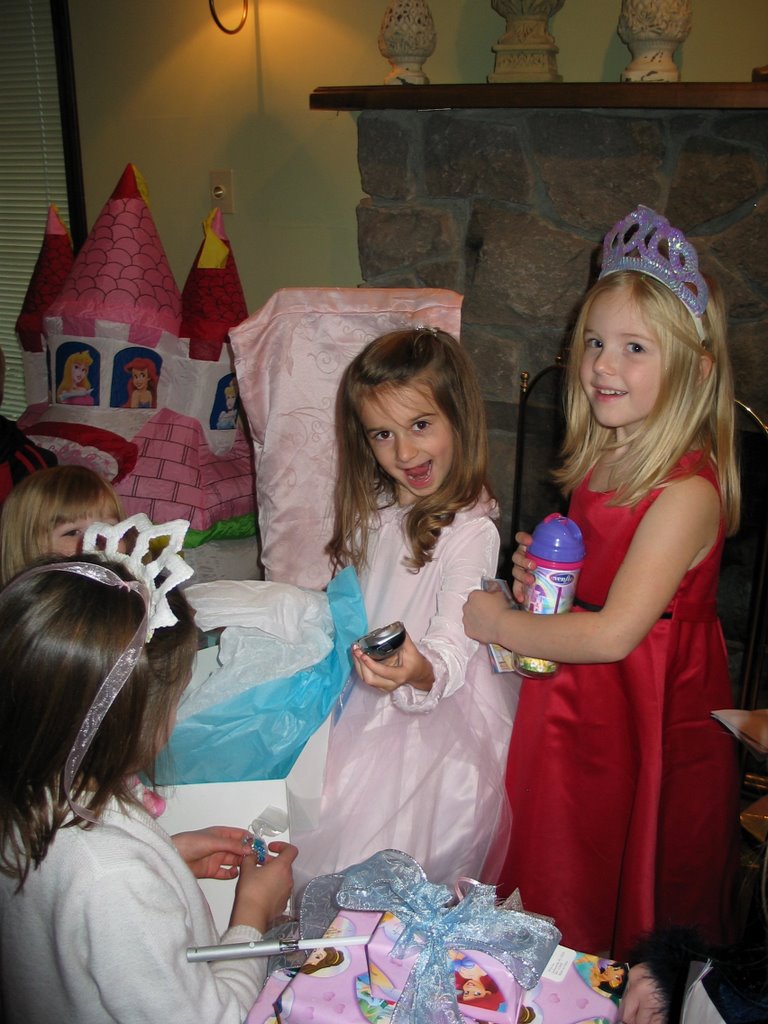

Right in the middle of opening her gifts, Natalie got a special birthday phone call from her favorite princess, Ariel. She was so excited.


After all the gifts were unwrapped, it was time for cake. This year Natalie requested cheese cake, so I bought some mini grahm cracker pie crusts and made everyone their own cheese cake topped with whipped cream and their name written on top.
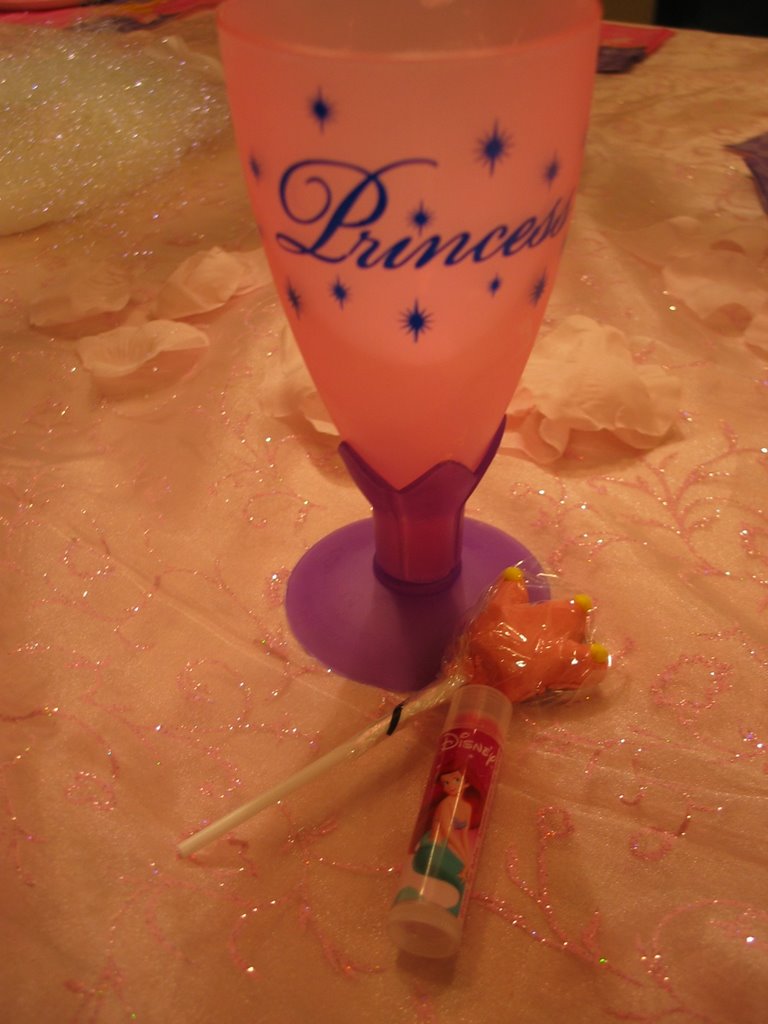
Everyone got to take home a princess goblet filled with a tiara sucker,
gummy snacks and an Ariel lip gloss.


It was a busy couple of days, but well worth it to see all
the smiles at the party.


All the little details
One of my favorite aspects of throwing a big party is the theme. Once I have a theme to go by, I go crazy...no joke. I become somewhat obsessive/compulsive and can't stop the machine that is...Alyssa: Party Planner! I will be the first to admit that I do go a little overboard...but it is so much fun. The decorating really sets the mood for the party.

Here is the "castle" entrance, all decked out with a red carpet and all.
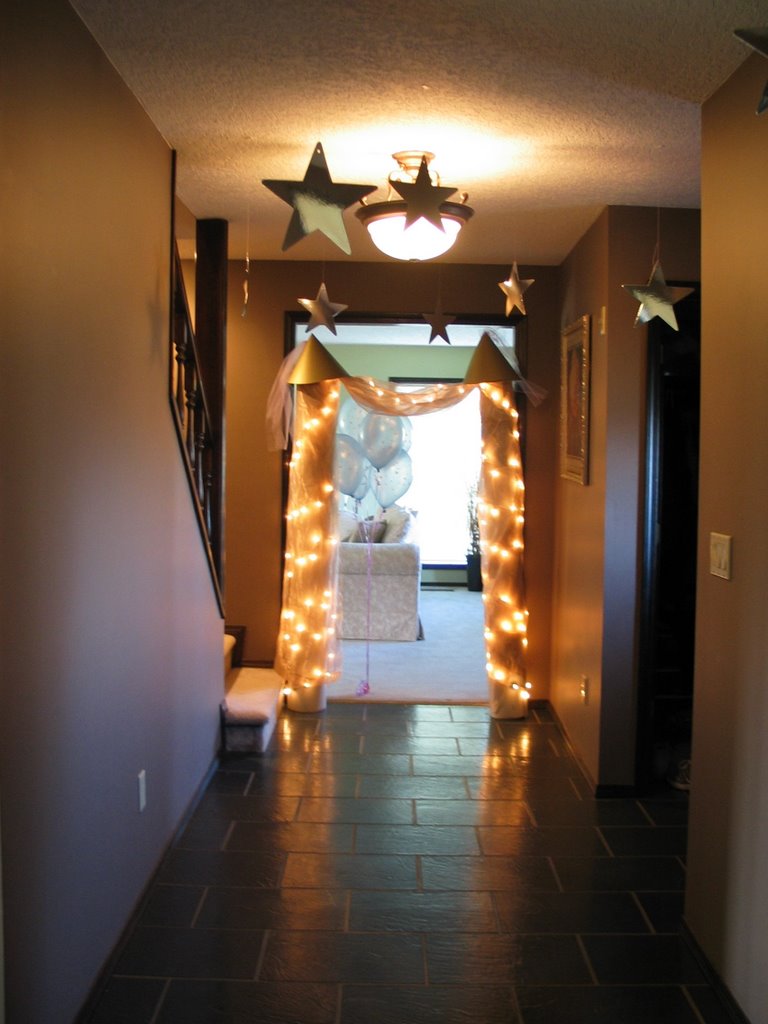
As you come in, two tall castle towers draw you into the living room where the day's first activities will take place. The towers were made with things I found around the house. I searched all over for something to make these with and almost gave up until one day when I was snooping down in the basement and I came across an old roll of linoleum flooring. Perfect. I cut it into 2 pieces and rolled them back up around some paint cans for stability. (the paint cans are inside the base of the towers). Then I strung the Christmas lights up and covered them with some gold curtain sheers I took down when I put in denim valances in the boys room. Glad I kept them, they came in handy. The cones on top were just made from tag board.

Here is an over-head view of the "sparkle station" where the girls could get a glittery make-over. They could add sparkly decals on their nails, as well as polish and glittery body spray to top it off. (The tray is from the dollar store and the mirrors were on clearance at Michael's)
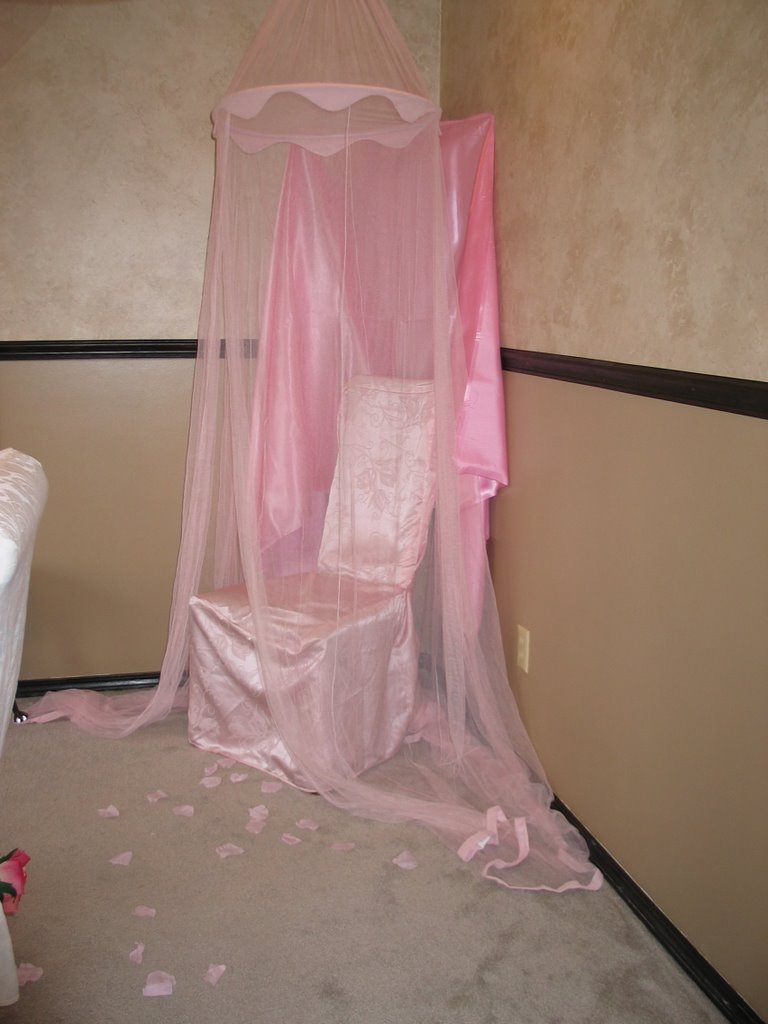
Here is Princess Natalie's birthday throne where we took photos of all the guests with the birthday girl. The canopy is from Natalie's bedroom and the chair is from my office.
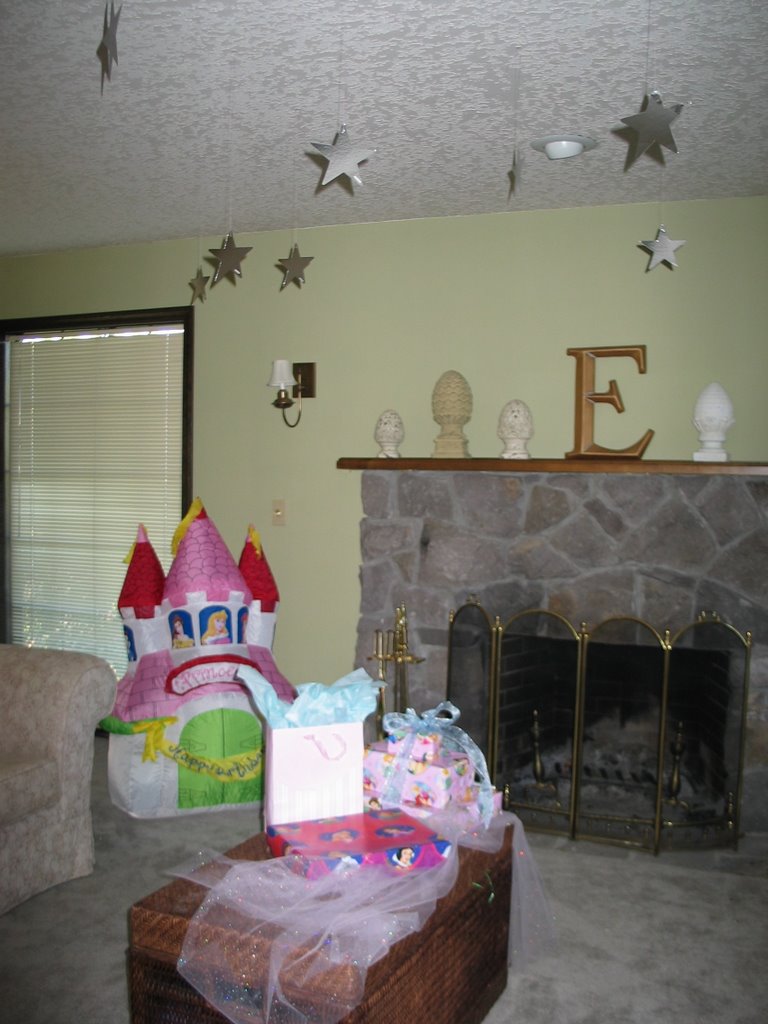
This is the living room where the gifts will be unwrapped. I love to hang things from the ceiling. It makes the room look so much more festive. I got that inflatable castle on clearance for about the same price as a large mylar balloon...it was a steal at 60% off.

One of the most important areas to decorate is the space where they will be eating. I wanted to make this area feel magical and very girly. I used a large bed sheet for a table cloth and strung Christmas lights under the table cloth for a soft glow. I turned an ordinary looking dining room light into a chandelier by hanging a clear and lavender faux crystal Christmas garland from the arms of the light. Then to add a more elegant feel, I hung tulle garland swags from the ceiling.
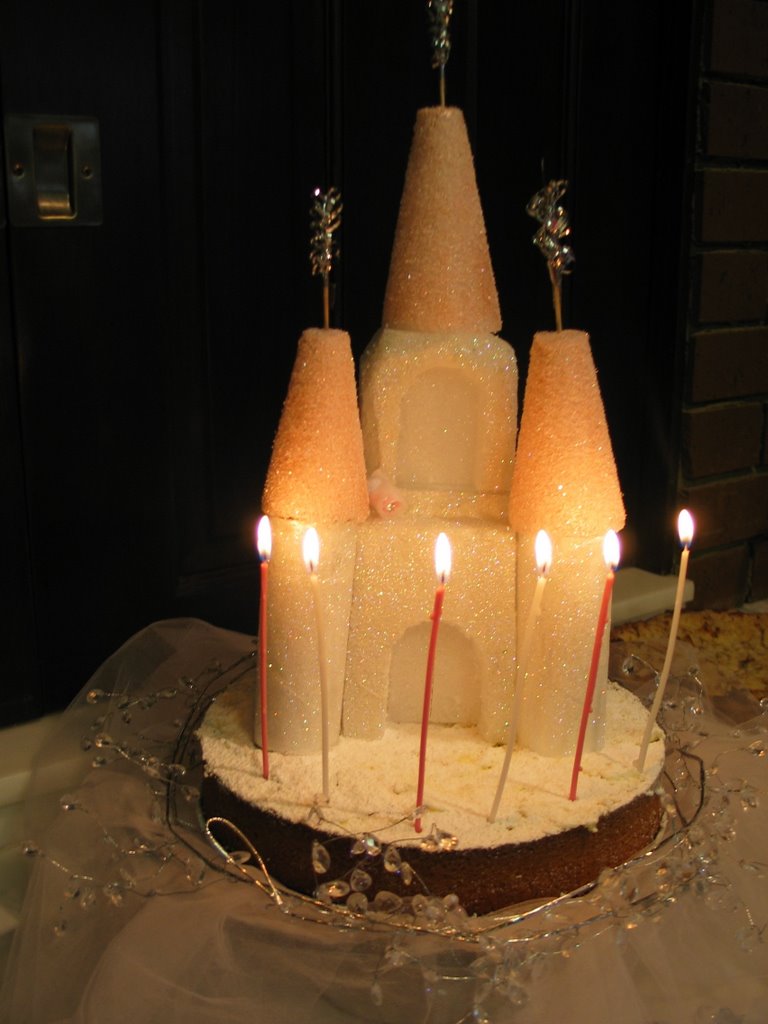
Every year I have made a themed cake. Now, I have no formal training in cake decorating, so usually I just wing it as best as I can. Some turn out better than others, but it's always a challenge. This year Natalie requested cheese cake, so I was stumped. I did a lot of visual research on google images (which is where I get some of the best ideas) and came up with about 20 great looking castle cakes, but I just couldn't figure out how to make it all come together. So, I did the next best thing...I made a castle cake topper out of styrofoam. I even carved out the bottom and put battery operated lights so the castle would glow. It turned out pretty good. I hope I don't regret not being up for the challenge of making a real cake, but I think this turned out just as pretty.

For all the little girls (and my two boys) I made personalized mini cheesecakes topped with whipped cream. The names were piped out of melted candy melts onto parchment. Under the parchment I had printed out everyone's name in a simple font so it could serve as a pattern for me to follow when writing out their names.
Saturday, December 02, 2006

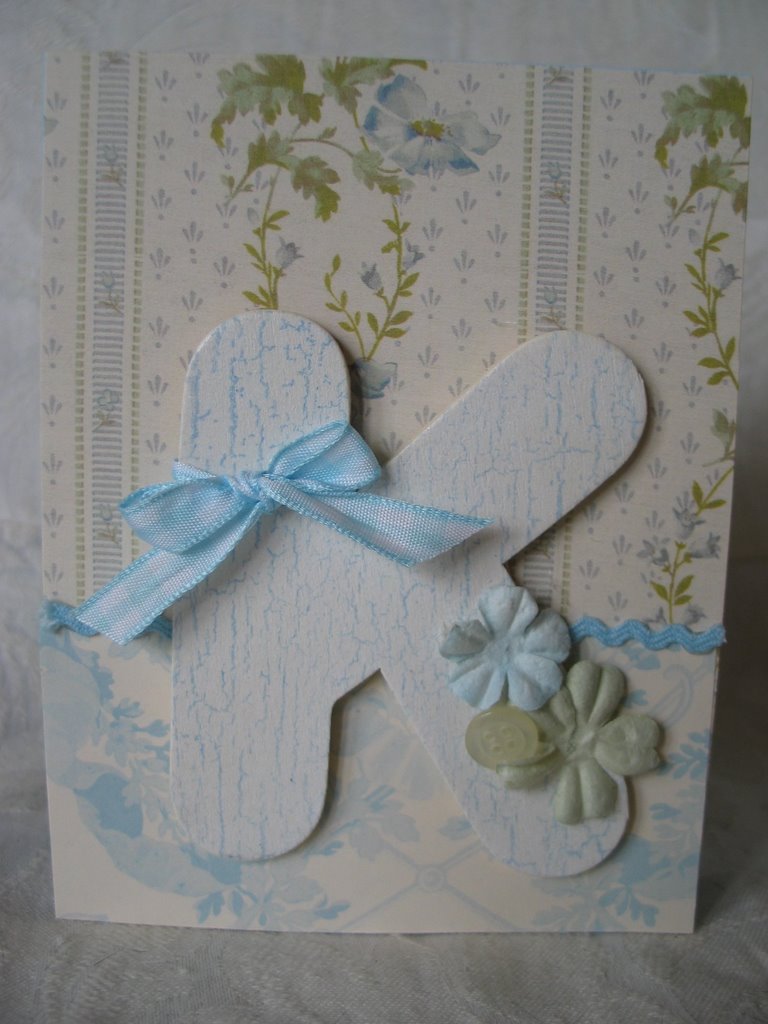
Shabby Chic Birthday Card

Happy Birthday Sweetktea!
Since I know Sweetktea likes shabby chic, I new exactly which papers I wanted to use. The papers are Anna Griffin...aren't they sweet? I got the (provo craft) wooden letter "K" from Craft Warehouse, "painted" it white using white Craft Ink. After it dried*, I stamped the weathered stamp using Bashful Blue ink. The to finish it off I tied a gingham bow and added Prima flowers and a button.
*(Note, the craft ink took forever to dry. Since I needed to get the card in the mail, I nuked it in the micro for 1 minute and it did the trick.)

Friday, December 01, 2006

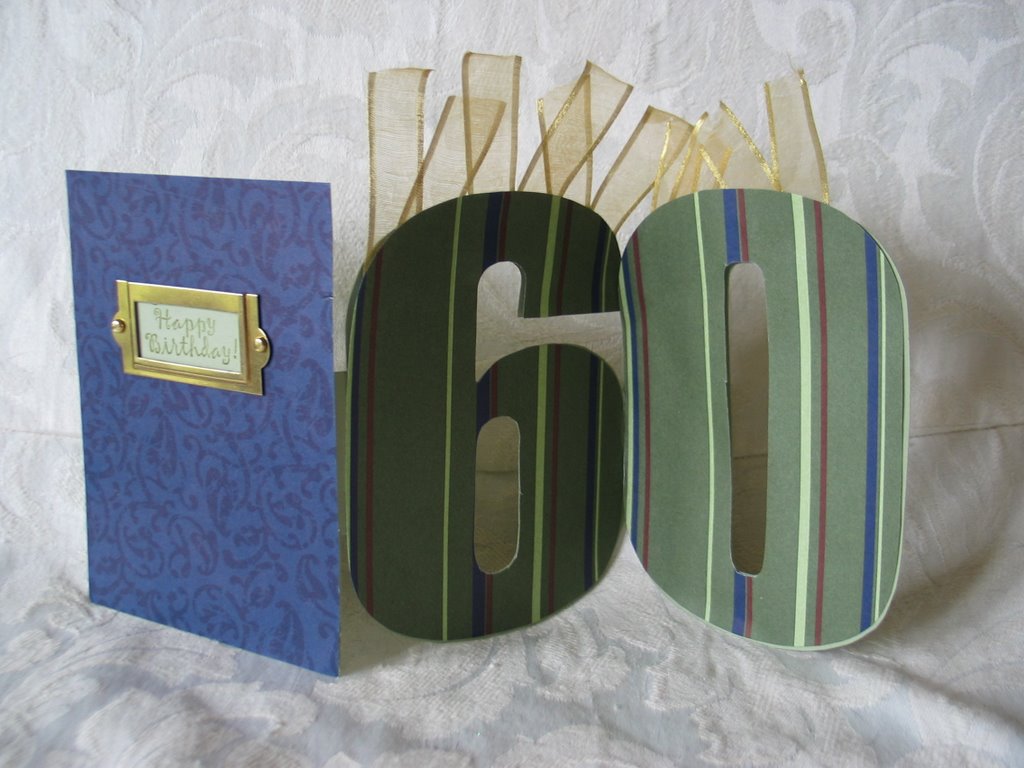
Dad's 60th Birthday Card

Happy Birthday Dad!
Here is your birthday card.
You should get the real one in the mail today.This is a tri-fold card with the number 60 cut out.
All the paper is last year's Christmas paper from Stampin' Up! I got the book plate from 2 Peas before Stampin' Up! carried them. Now I have the SU! Hodgepodge Hardware kits that have all kinds of fun metal embelishiments.

Stampin Up!s Winter Mini Catalog

Here is the link for the new Winter Mini Catalog. There is some really cute stuff in this one, so check it out. Also, Sell-a-bration is just around the corner begining in January. For every $50 you spend, you get a free Sell-a-bration set. (I'll post the Sell-a-bration catalog in January. ) This is one of the best times to be a hostess because you can earn Sell-a-bration sets for free too. Contact me to book your workshop.


Holidays at Half-Off Promotion!
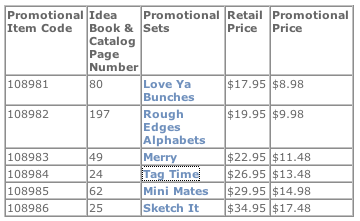
If you're looking for great gift ideas this holiday season, look no further than Stampin' Up! From December 1 through December 31, you can get six beautiful stamp sets for 50 percent off their regular price with a $30 purchase of non-promotional merchandise. To view these sets you can click Here for the promotions page, or you can browse through the on line Idea Book and Catalog.

Thursday, November 30, 2006

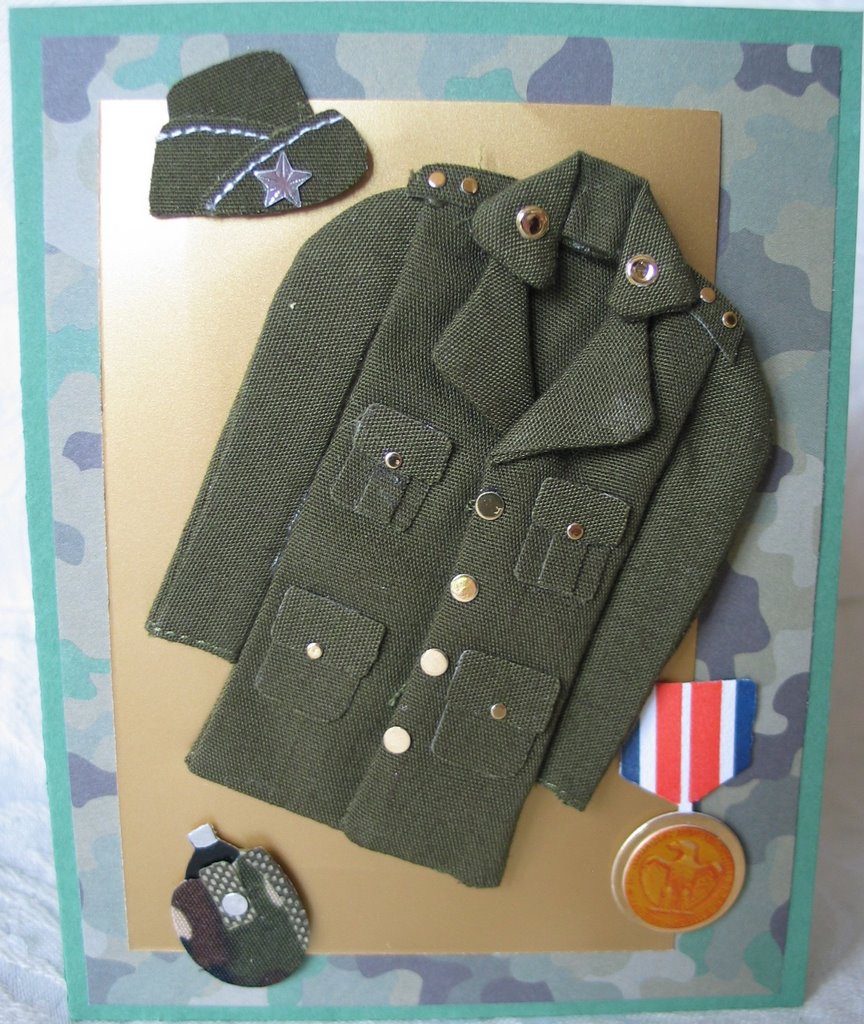
Jon's Send Off Card

I just found out a couple days ago that my friend Jon is being deployed to Afghanistan. He has already served in Iraq for a year, but I guess his services are needed again. (he's a doc in the Army).

I can't go to his send off this weekend due to the birthday festivities, so I made this card to wish him well. I've know Jon since 2nd grade and his wife and I are great friends, althought I don't get to see them all that often. They have 3 boys, so you know she will be super busy. Please keep them all in your prayers.

Tuesday, November 28, 2006

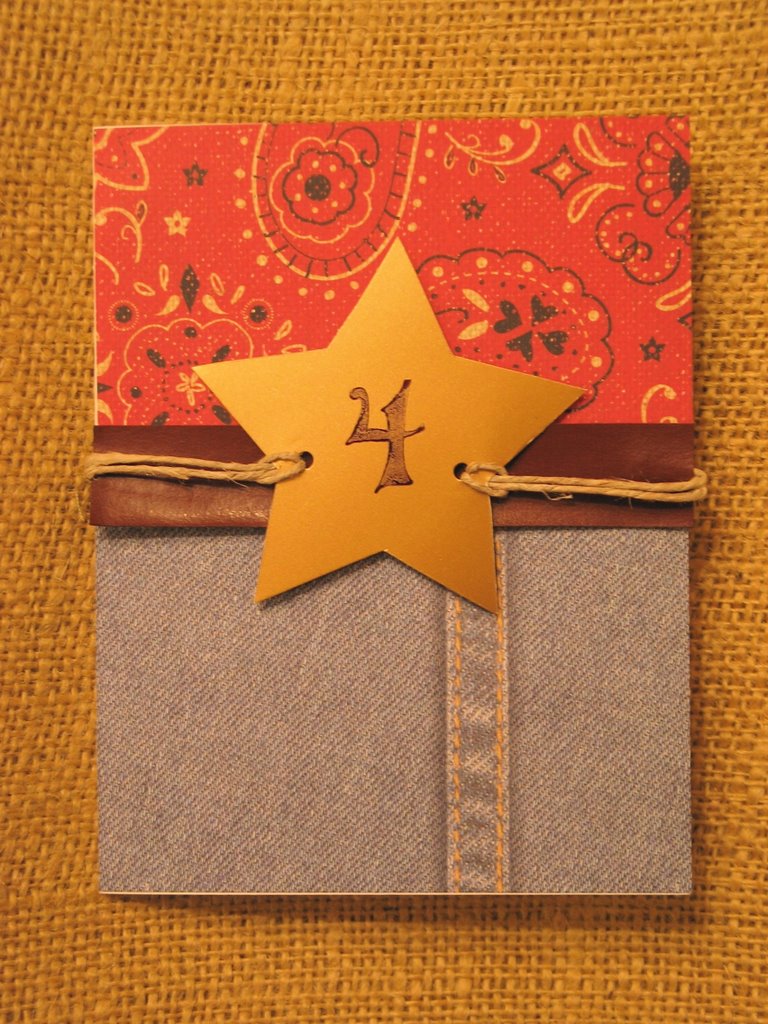
Zander's Cowboy Invitation

Zander's birthday is coming up right after Natalie's so I am trying to get his invitations figured out now. This is my first prototype and I think it turned out okay. The part I like best about this card is that I can probably make all 12 of them in the same time it took me to make one of the castle invitations for Natalie's party. Any comments or suggestions?

Monday, November 27, 2006

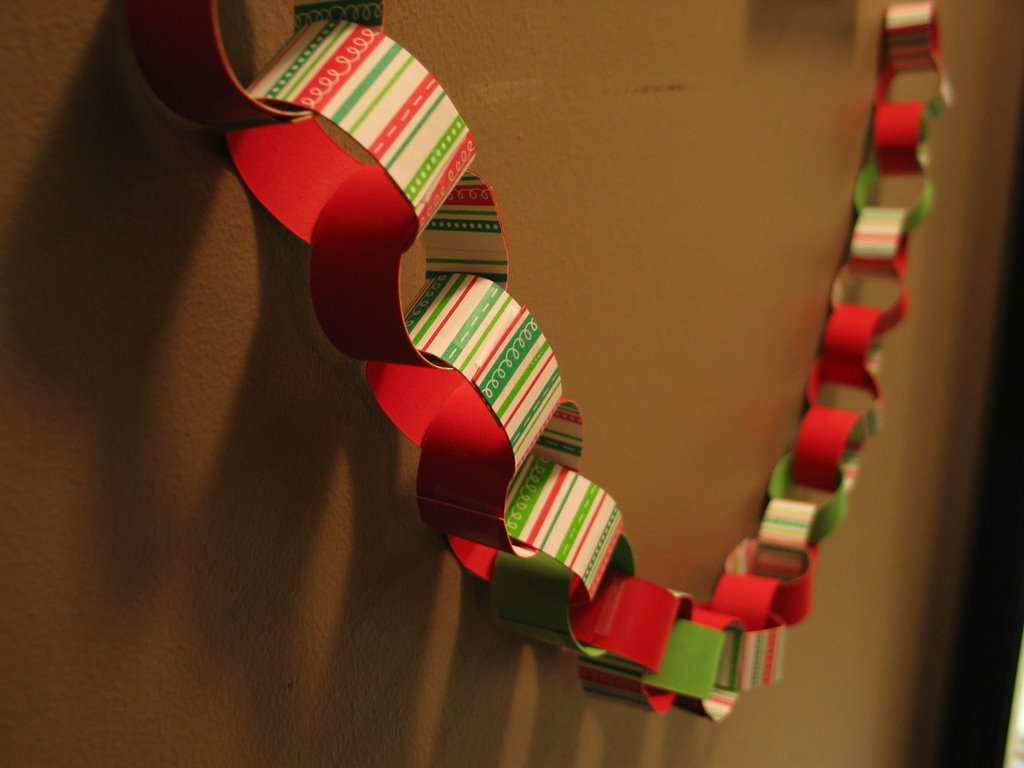
Paper Chain: Countdown to Christmas

Do you remember making these in school? When we made them in grade school, we made long chains and hung them all over the class room. Every year since Natalie has been old enough to count, I have made one of these. This year however, I actually started it BEFORE December, so it's not as wimpy as in years past. Now that the kids are older, they are able to help assemble the chain. Won't be long until all the chains are cut off and Christmas will be here!

Saturday, November 25, 2006

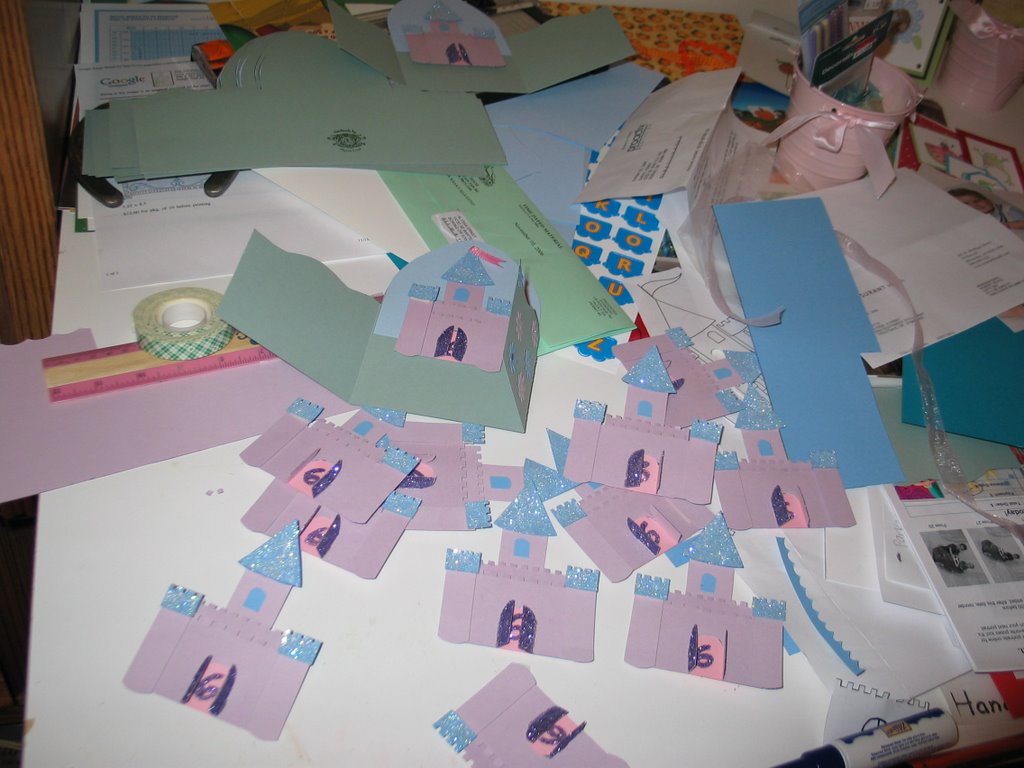
Assembling all the birthday invitations

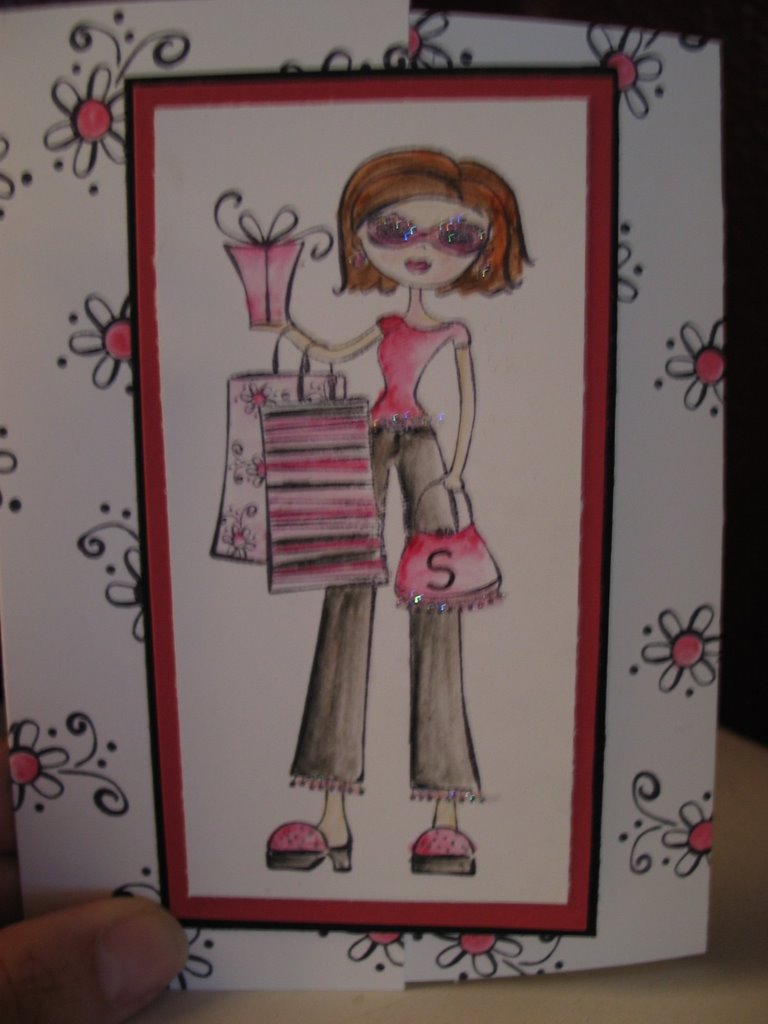
As a creative person, I am always making a mess, much to my husband's dismay. I find it very difficult to keep my space clean and orderly all the time...especially this time of year. I guess sometimes being creative means making a terrible mess in order to produce great works of art. I am making 12 princess invitations (see prototype in previous post). As you can imagine my workspace is covered with glittery castles. Lots of fun...as always, I wish I had started sooner!
Saturday, November 18, 2006

Like Mother, like Daughter

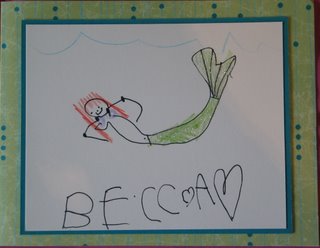
Natalie loves to make cards for people...kind of like someone else I know! Here is a card she made today for her cousin who turned 5. They both love Princess Ariel. Isn't it cute. All paper is Stampin' Up!

Thursday, November 16, 2006

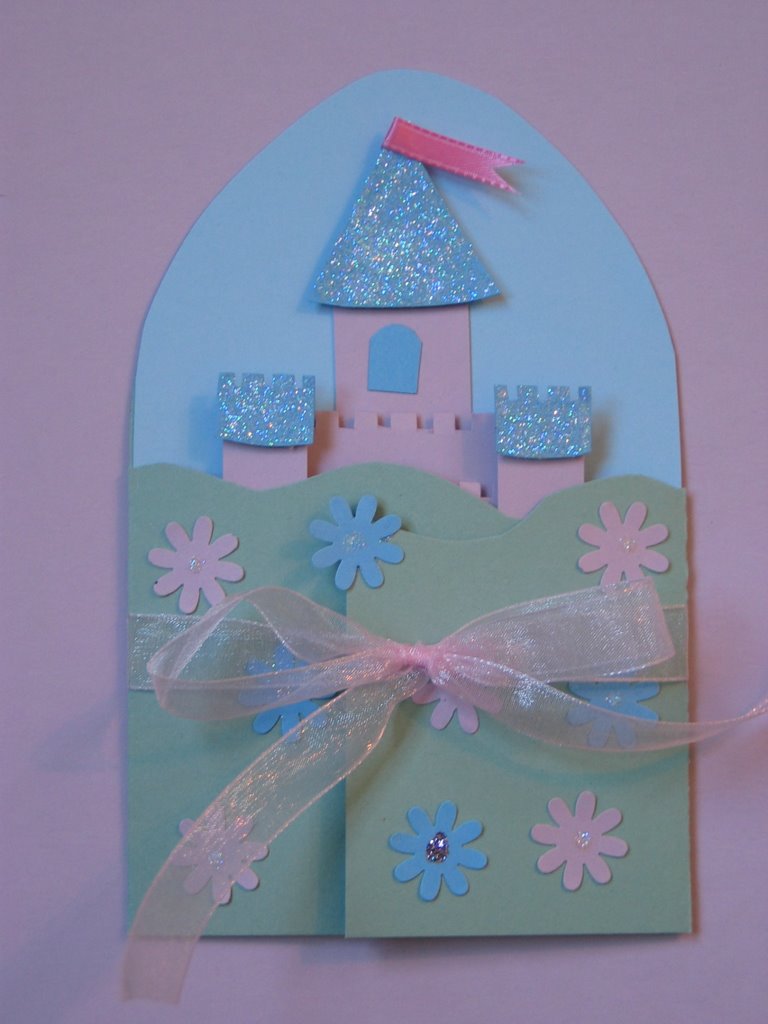
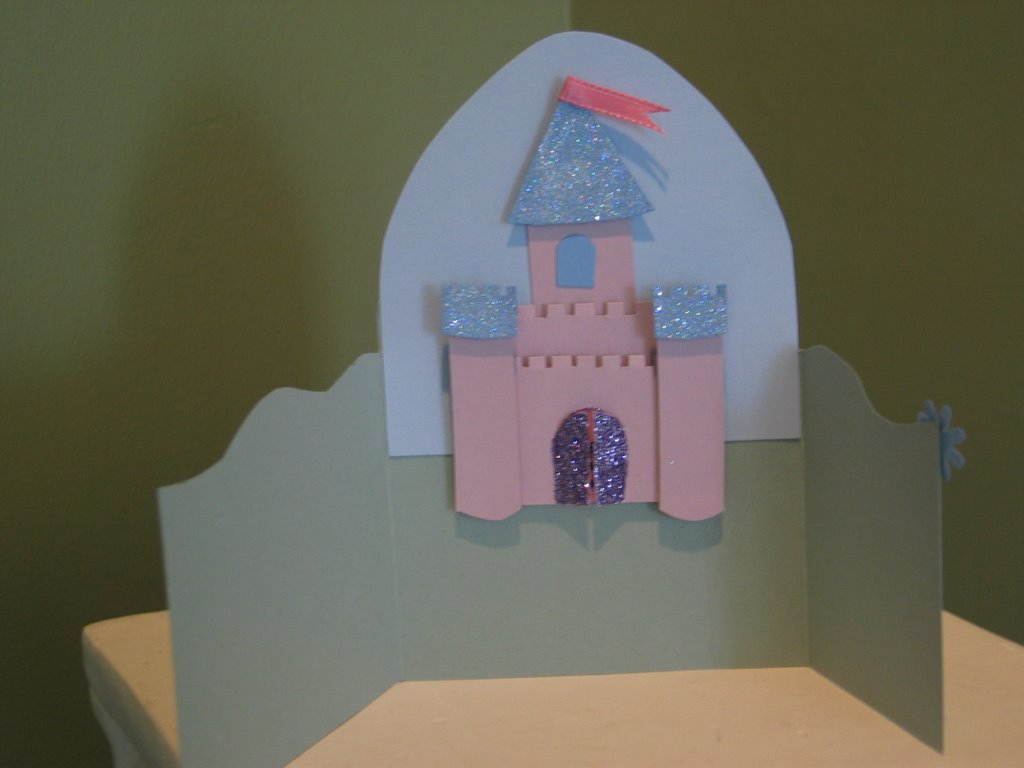
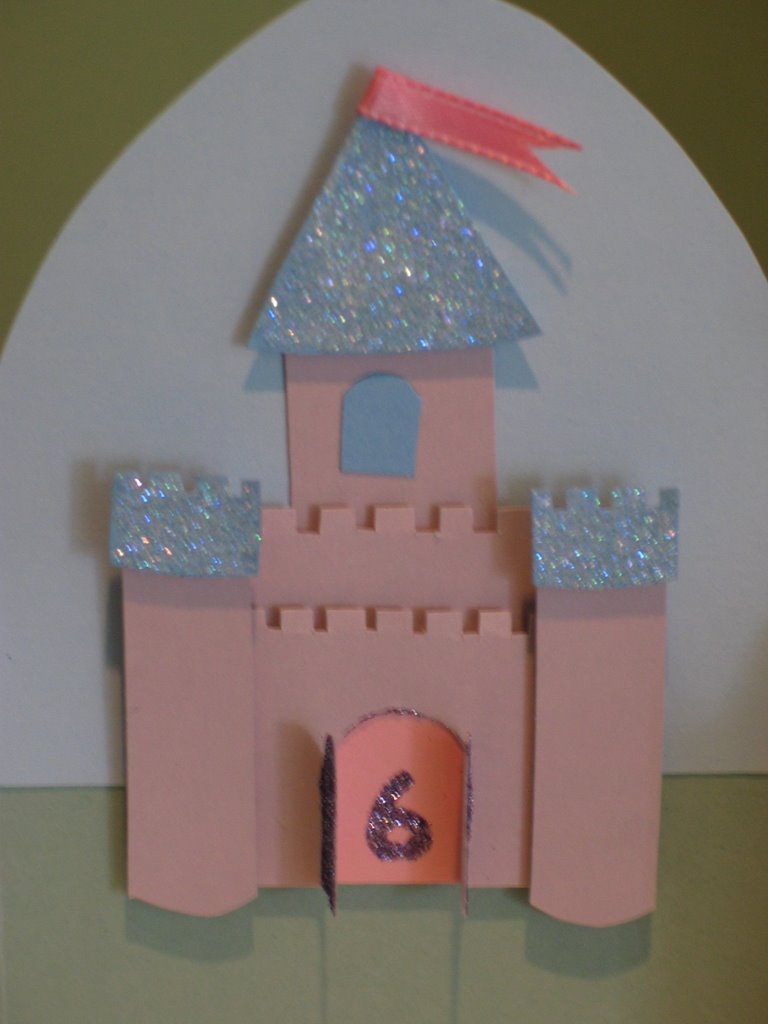
Natalie's Princess Party Invitation

This is how the invitation looks when it's closed.
This is how it looks when it's opened...before I've added the party details.

Here is a close-up, with the castle doors open to reveal the birthday girl's age!

One of my very favorite things to make are party invitations. This year my baby girl turns 6!!! Since the theme is Princesses, I thought a glittery castle would a fun way to announce the big day. This is just the prototype. The actual invites will also include the party details on the left inside flap as well as "Princess Natalie" in a scroll under the castle. I've had a vague idea of what I wanted this too look like for a long time, but I always have a bit of anxiety in starting into the actual design and development. Yesterday I worked on it on an off for a few hours while the kids were playing and after several revisions, I came up with this tri-fold card. She just loved it!!! Now I'm going to spend the next week cutting, folding, gluing and sprinkling with glitter to insure that these get mailed by Thanksgiving. I'm using the Disney Princess postage stamps of course. Wish me luck!
All paper is Stampin' Up! I used both Art glitter and Stampin' Up's Dazzling Diamonds. TFL

Friday, November 10, 2006

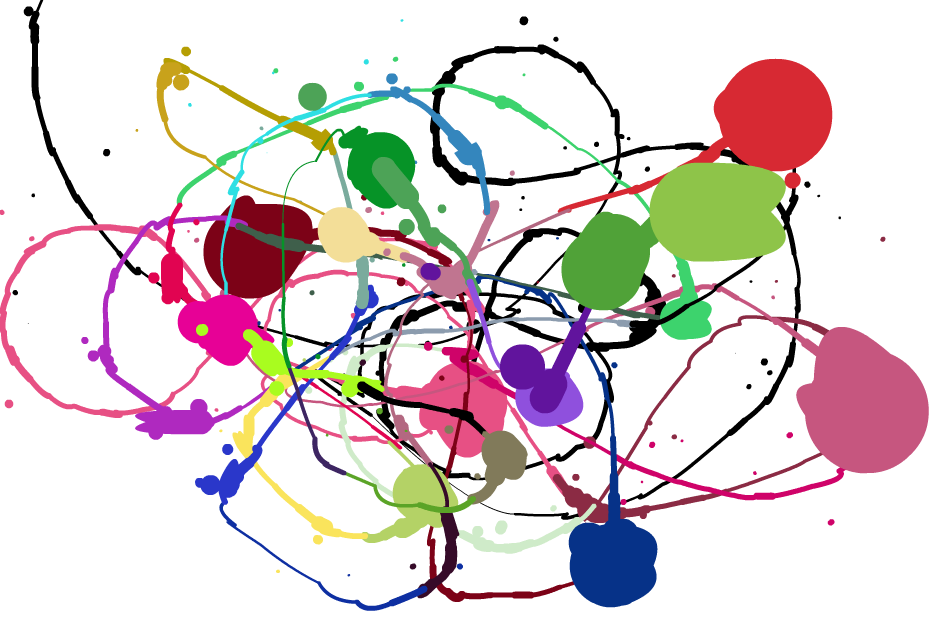
One of a kind art

You too can create works of art like this by going to http://www.jacksonpollock.org/
Just start moving your mouse around to create the design. If you want to change colors, click with the mouse. It's pretty fun...so I thought I would share.

So how much do you think I could get for this on ebay?...kidding!

Wednesday, November 08, 2006

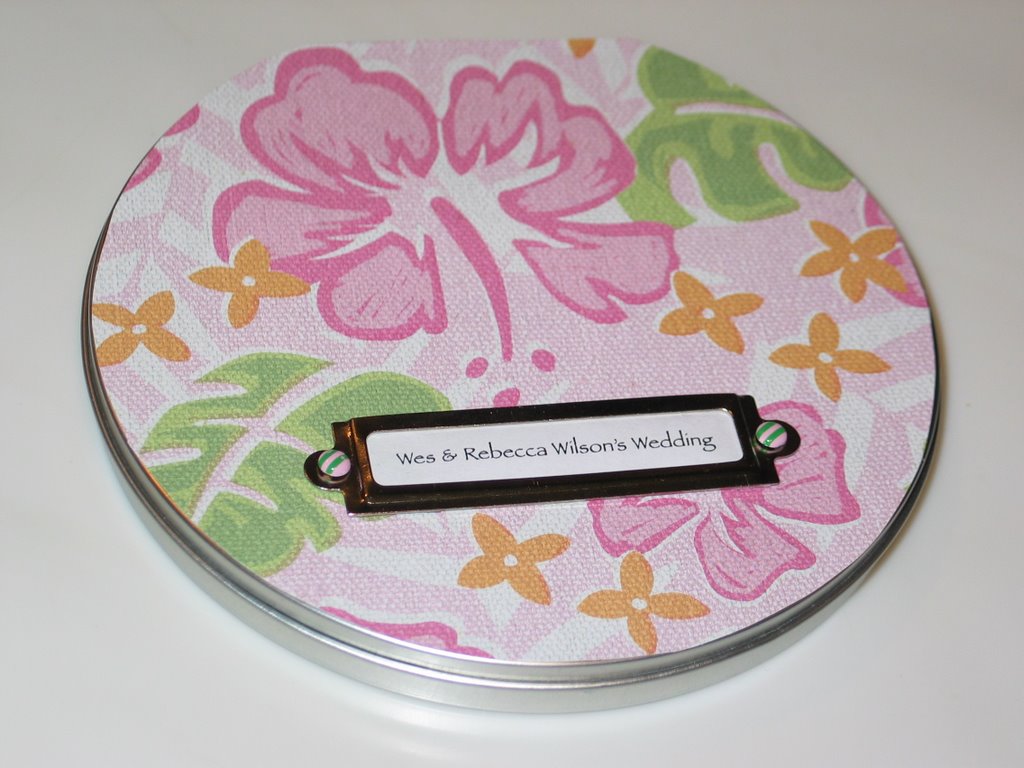
Wedding Photo CD Tin


This is a CD tin that I made for all the photos (on CD) that I took when I shot my friend's wedding last Sunday. It was a Luau theme, so I thought this paper was perfect.

Monday, November 06, 2006

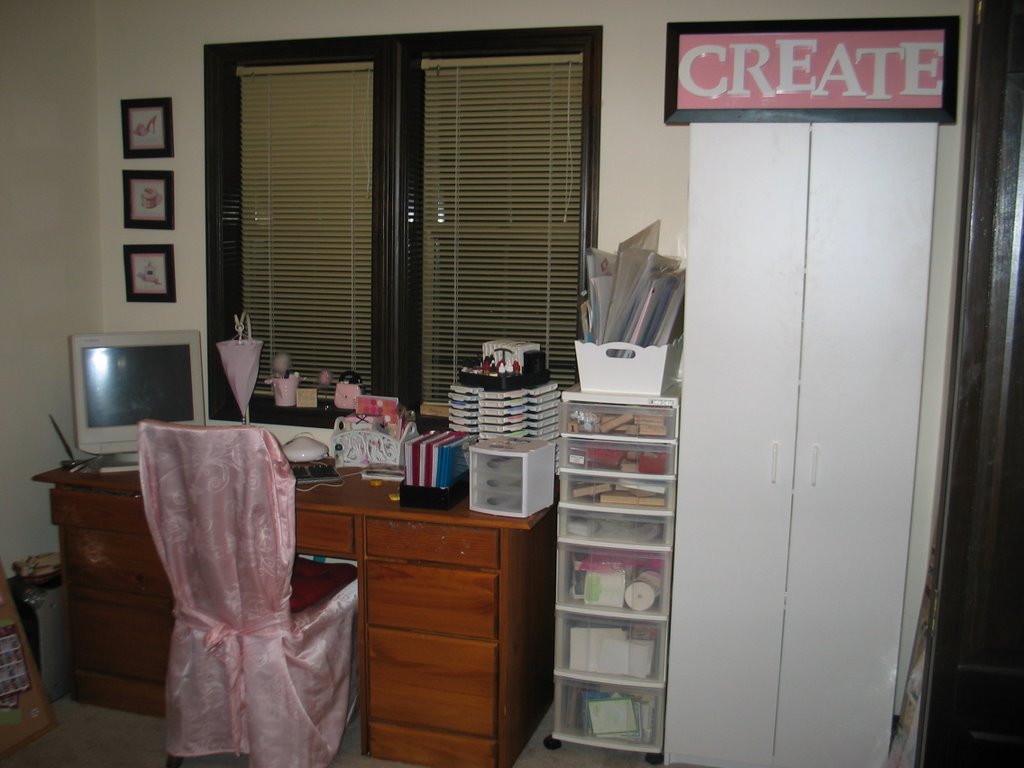
My Scrap Studio: Think Pink!

Look quickly,
Alyssa cleaned her craft area!
MY DESK: This is where I have my Mac set up and where I store a lot of my supplies. In my desk I have all my adhesives, glitter, embossing powders, tags, pastels, watercolors, paper punches, beads, brads, eyelets, metal embellishments, fibers etc. On the top of the desk, I have all my ink as well as blank notes to write in. In the Iris cart I have envelopes, misc rubber stamps and card samples. In the cabinet I have all my paper, pens, stampin around wheels, tins and other packaging items for embellishing.
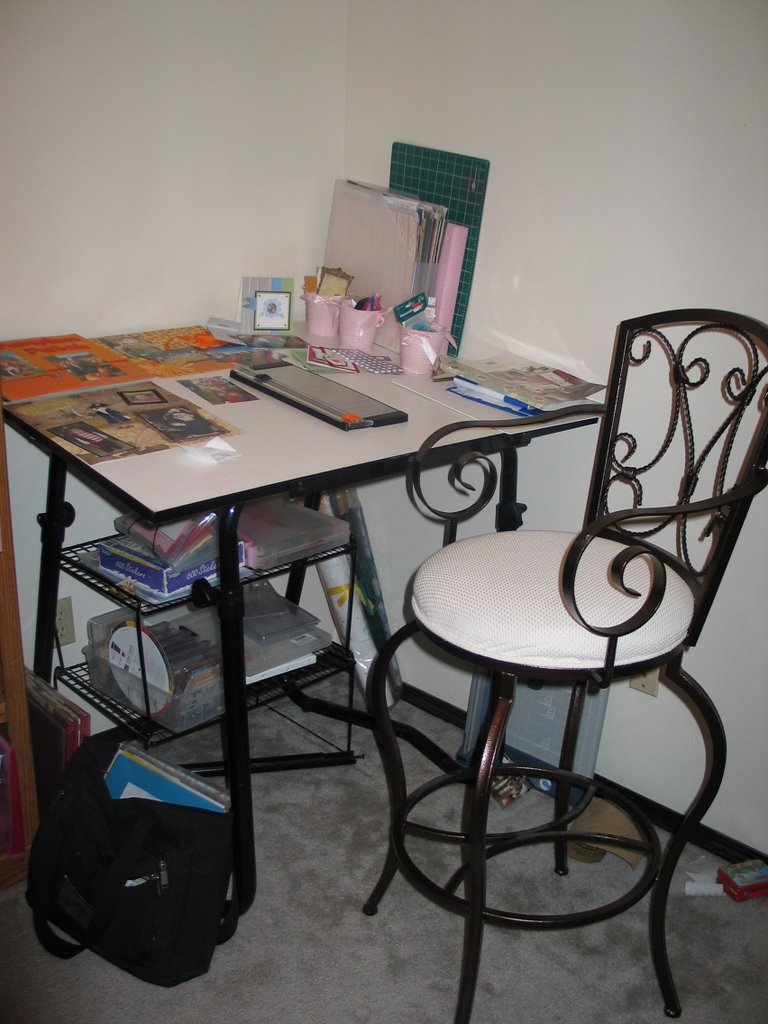
MY WORK STATION: Here is where I get most of my work done. This is an old drafting table from the design school days. I bought the bar stool when I had my studio set up in our garage before the move. Under the desk is extra storage.
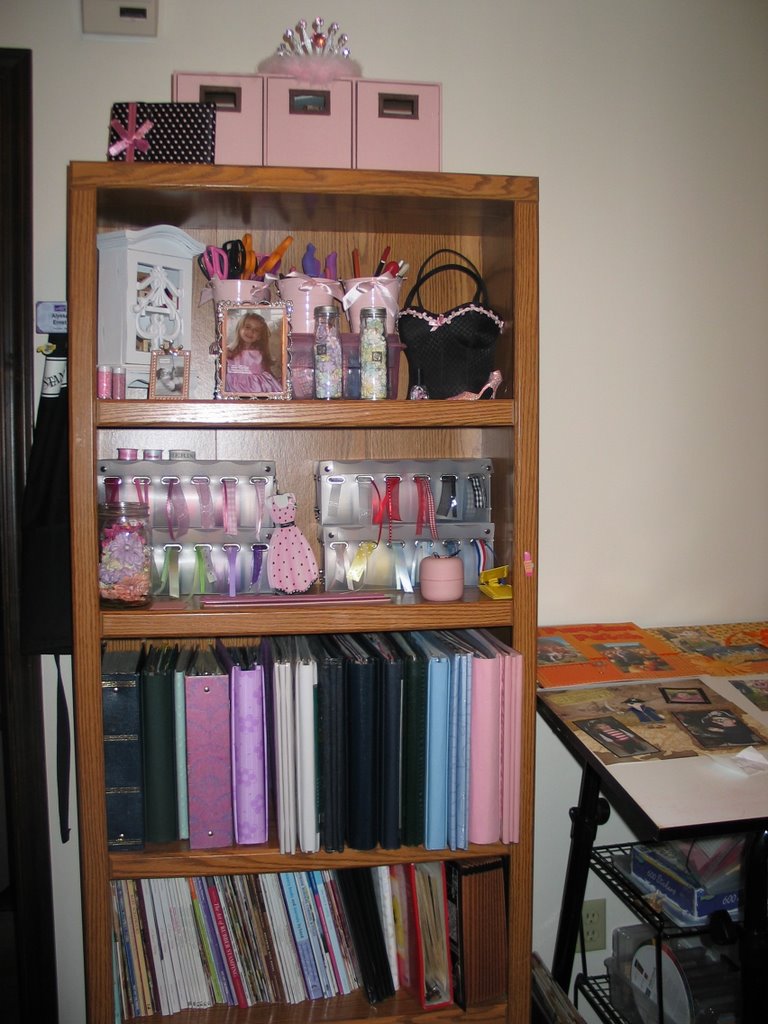
MY SCRAPBOOK STORAGE: As you can see I not only store scrapbooks, but also idea books, magazines, ribbon, prima flowers, scissors and anything else that looks cute on the shelf. On the top in the pink drawers I've stored some of my photos on CD.
Here is a close up of my shelf. It makes me happy to see all my things on display. I got the ribbon holders at Target a couple years ago and then they stopped carrying them. I'm so glad I got 4, cause they are all filled up.
Did I mention that I am addicted to all those cute embellishments. Part of the fun of scrapbooking is getting all the cute stuff. Anyone else out there want to start a "12x12" step program with me (Hello, my name is Alyssa and I am addicted to embellishments!) I have a storage binder filled to the gills with these also, but these are ones I plan to use right away. This way they are out where I can gain inspiration from them. When the time is right I will know exactly were they are. (Unless Hayden gets to them. He likes to pull them all off.)
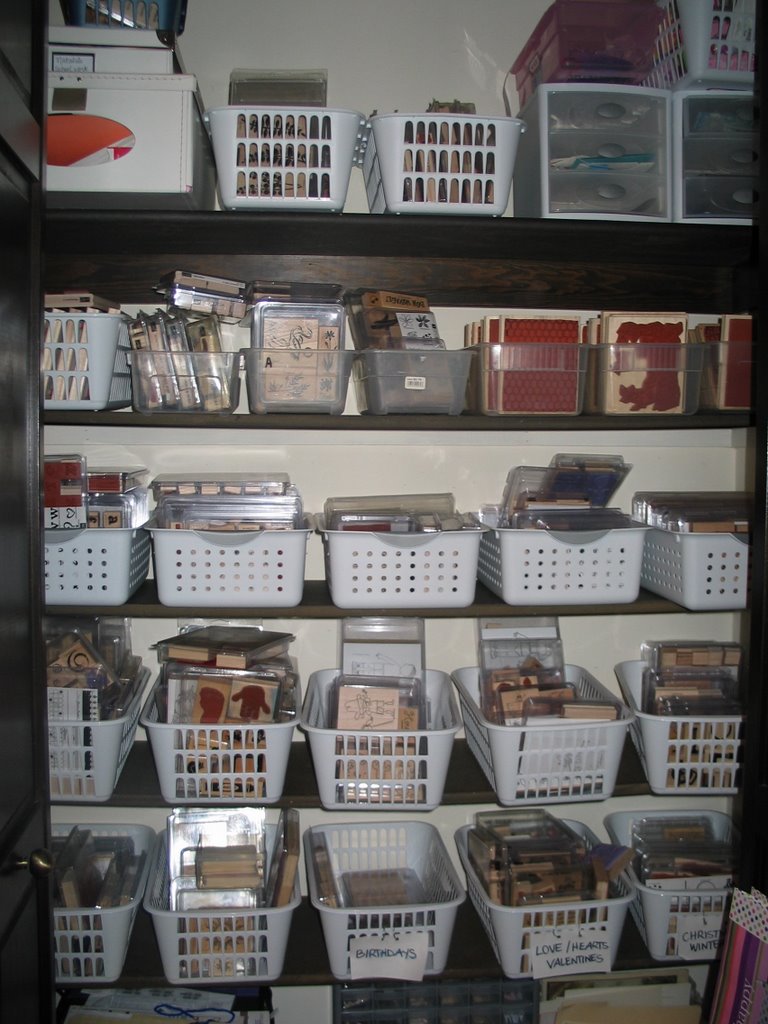
GOT STAMPS?: Being a Stampin' Up! demonstrator for 8 years, I have acquired quite a nice collection of rubber stamps. I have lost track as to how many sets I have now, but there is always room for more, right?

Saturday, November 04, 2006

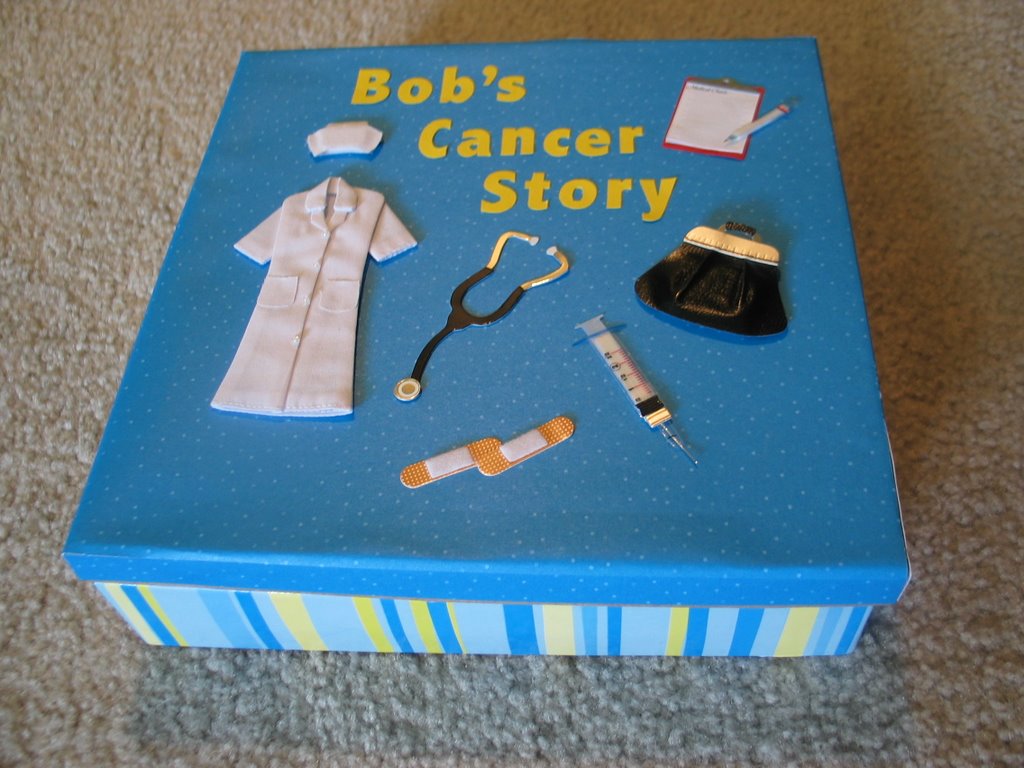
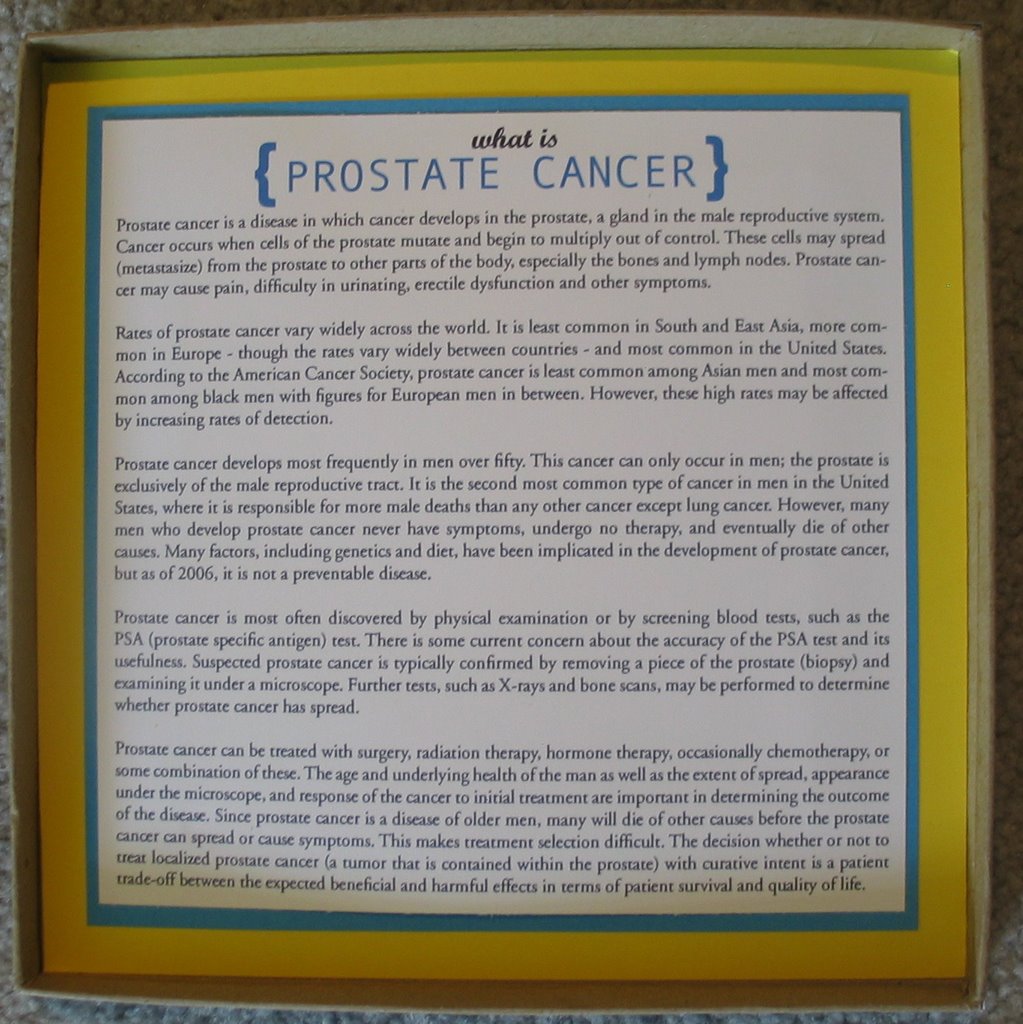
Dad's Cancer memory box


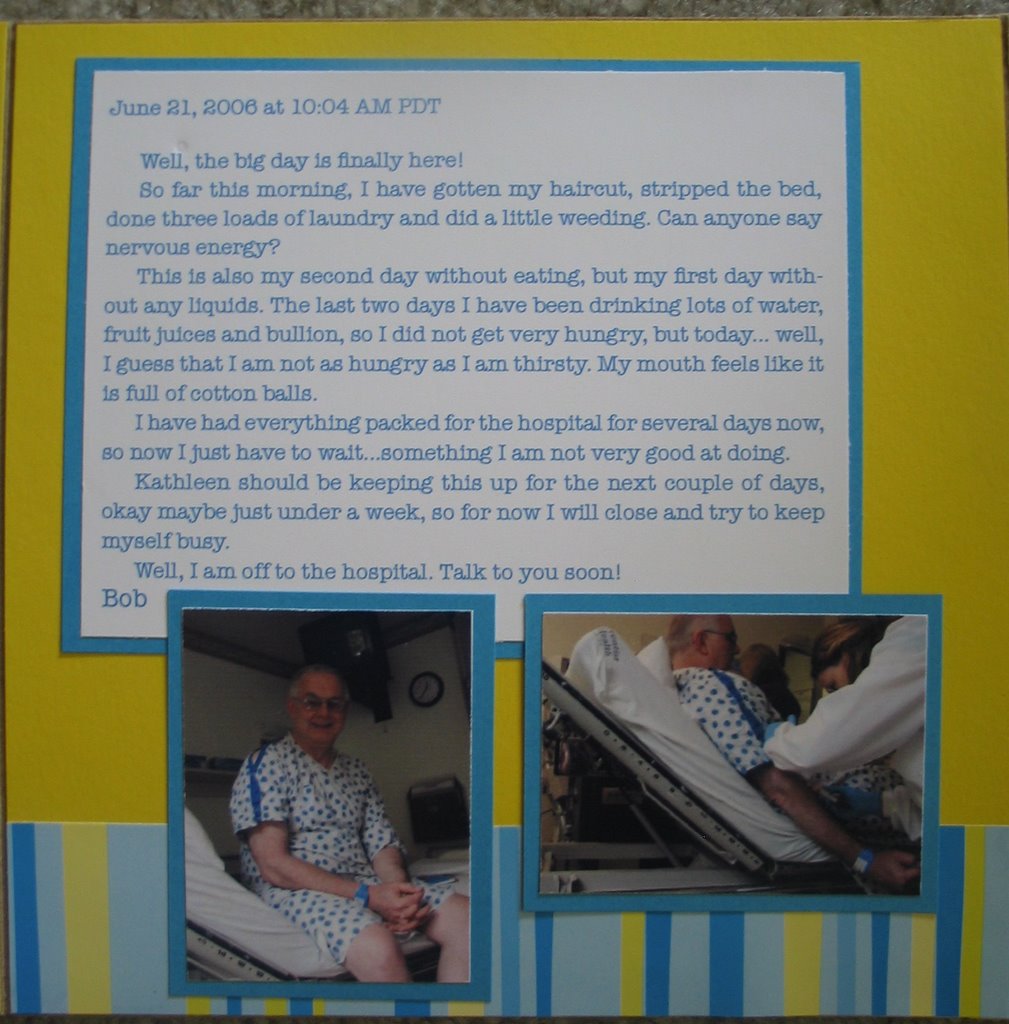
This past summer (June) my dad went in for surgery to remove some cancer (he had prostate cancer). The surgery was a sucess. He just got checked the other day at the doctors and his levels are higher than expected, but we are trusting God that everything is okay. He will be checked again in three months.

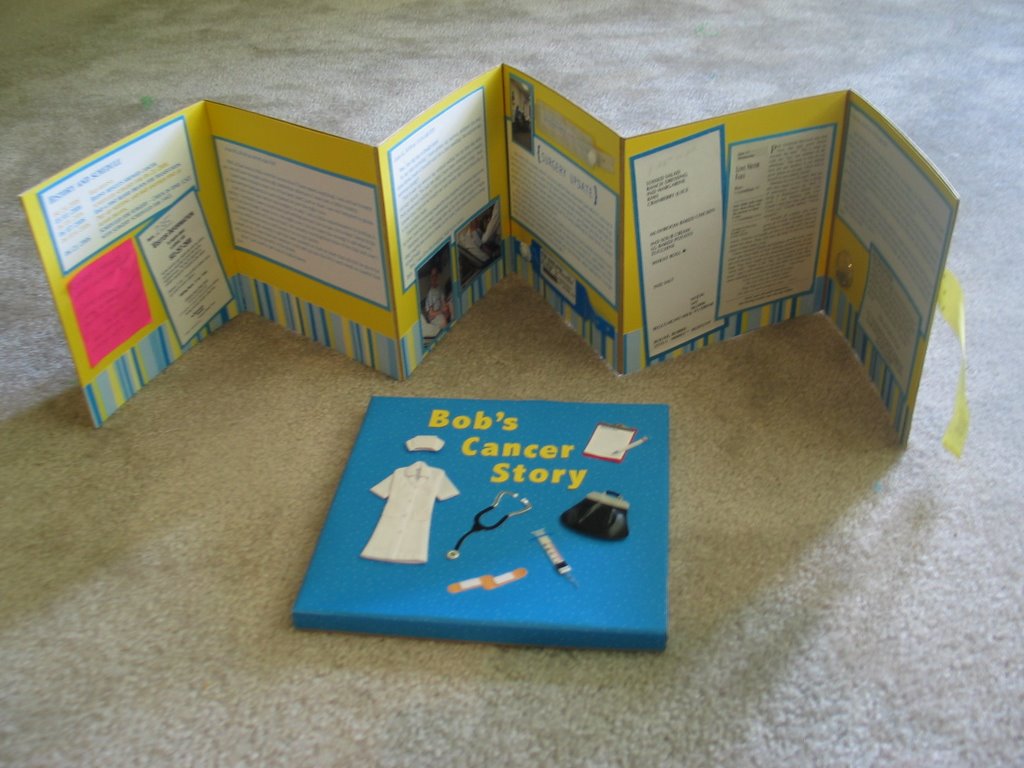
This is a memory box I made for my dad a few months ago and finally gave it to him tonight, so now I can share it with you. It was really fun to make. I bought the box and the accordian album from Oriental Trading, the striped paper is from Disney and the embelishments on the lid are from Jolee's Botique. I cut out the letters by hand; traced them from a stencil first.

The Spongebob page is kind of an inside joke. In order to have the surgery in the first place, my dad had to fast for a couple days. Then after the surgery, he was ready to eat and all they would let him have was a little pink sponge on a stick dipped in water that he could suck the liquid from. So naturally Spongebob was a fitting name for him. (the yellow ribbons on the side have velcro on them to hold the accordian book closed.

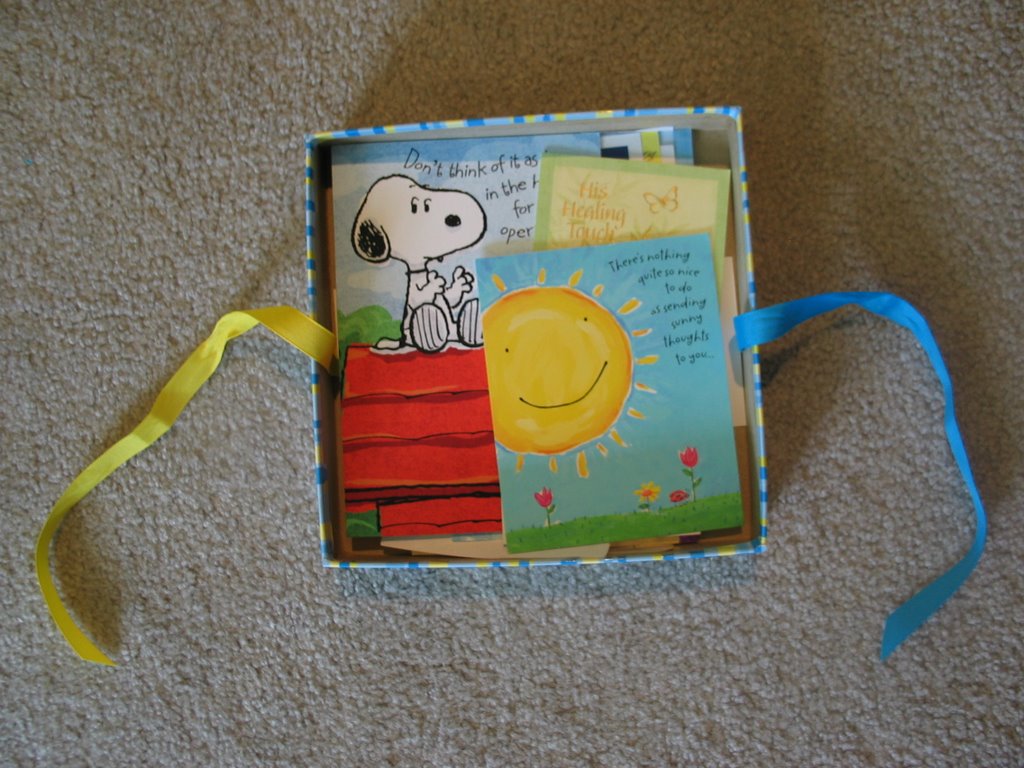
The next picture shows all the cards and other momentos from the hospital that fit neatly in the bottom of the box when you lift out the book.

The following two pictures are some highlights of the inside of the book and the last photo is of the inside of the box lid; a description of prostate cancer.

On the back pages of the book (not shown) I printed out some well wishes and thoughts from friends and family that were posted on his CarePages (cancer blog). It was my complete adiction to reading my dad's blog that I decided I needed to get a blog (or two) of my own. And the rest is history. Thanks for looking!

Thursday, November 02, 2006

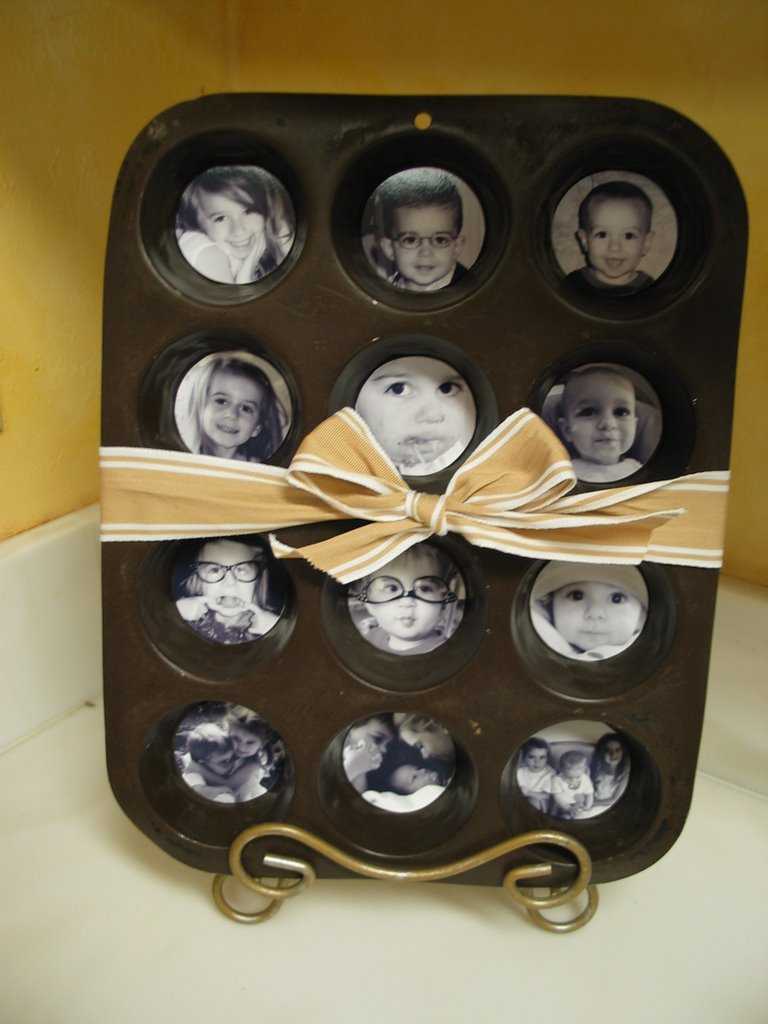
My little Muffins

Here is my most recent creation. I scrap-lifted it from one of the talented girls at Two Peas. It sits on my kitchen counter and I just love looking at all the cute pictures, they are some of my all time favorites.

Tuesday, October 24, 2006

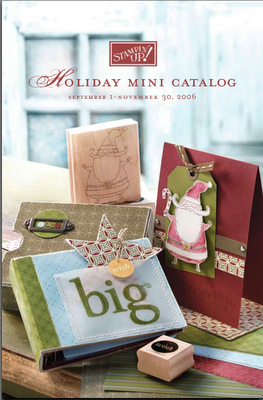
Stampin' Up's Holiday Mini Catalog


Here is the Holiday Mini Catalog (click link to view) for this quarter. The items in this catalog are for sale until the end of November. There are some great new additions like the ribbon holders, new holiday background paper, ribbon and of course, new stamps.

Then in December the Winter mini catalog comes out. I just received my copy of the Winter mini catalog and it is full of so many cute new things...I think I am in serious trouble because I want almost all of it!!! New velvet ribbons and 4 card making kits just to give you a little teaser!
Be sure to let me know if I can order anything for you.

Sunday, October 15, 2006

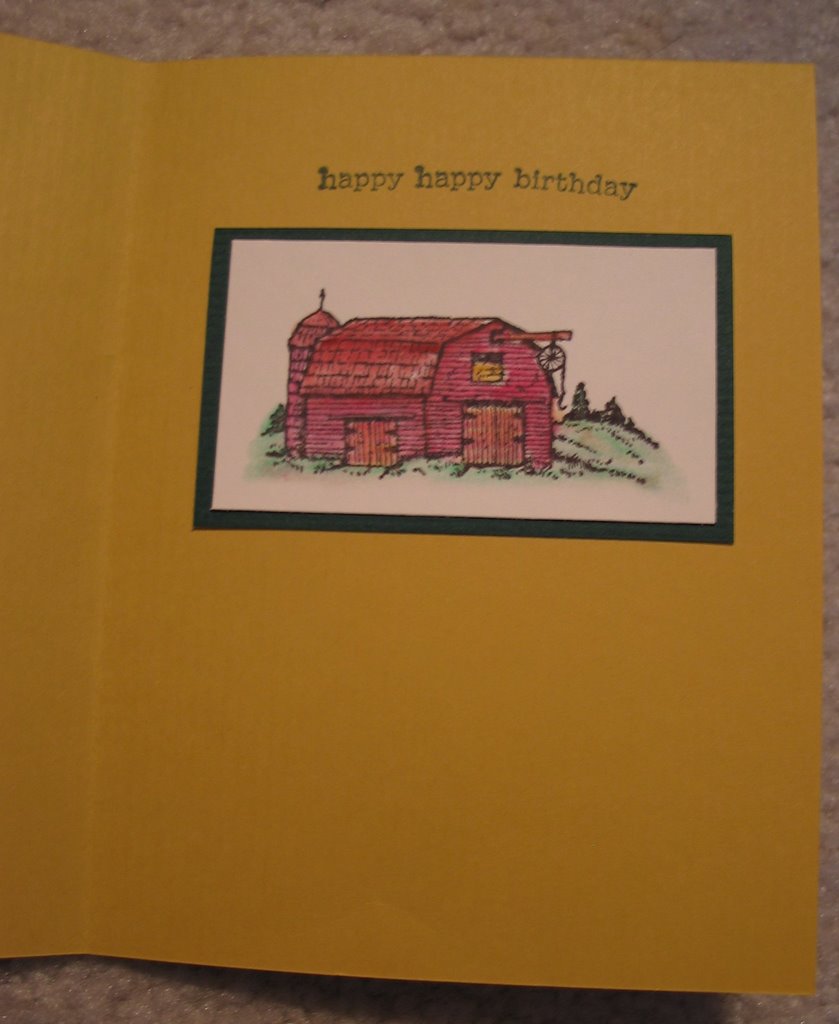
Barn Yard Birthday


I made this for my brother-in-law who owns a ranch. I stamped the chicken wire background stamp on clear accetate using "Stays-On" ink. Then put a straw-like filling behind the window and mounted it to the yellow card. All paper, ink and stamps are Stampin' Up!

Pumpkin Paradise

This was taken when my little "Z" pumpkin was 10 months old. We like to go to Hood River to get apples and pumpkins. When the kids were small, I took a photo of them sitting amongst the pumpkins. All paper is Stampin' Up!

Monday, October 09, 2006

Border Buddies

A Creative Memories consultant shared these with me and I thought they were kind of fun so I am sharing them with you. They are all made using different paper punches.


Tuesday, October 03, 2006

Birthday Chick

I made this card for my sister. I love this stamp set...and I love putting a monogram on the purse.

All ink, stamps, and paper are Stampin' Up! The image is watercolored and then I applied glitter to some areas. The I used white craft ink when stamping the floral background.

Fifty and Fabulous Card

This is a card I made when my mother-in-law turned 50. It turned out cute. Sorry the photo is so blurry. I must have been in a hurry as usual.

All ink, stamps, and paper are Stampin' Up! The image is watercolored and then I applied glitter to some areas.