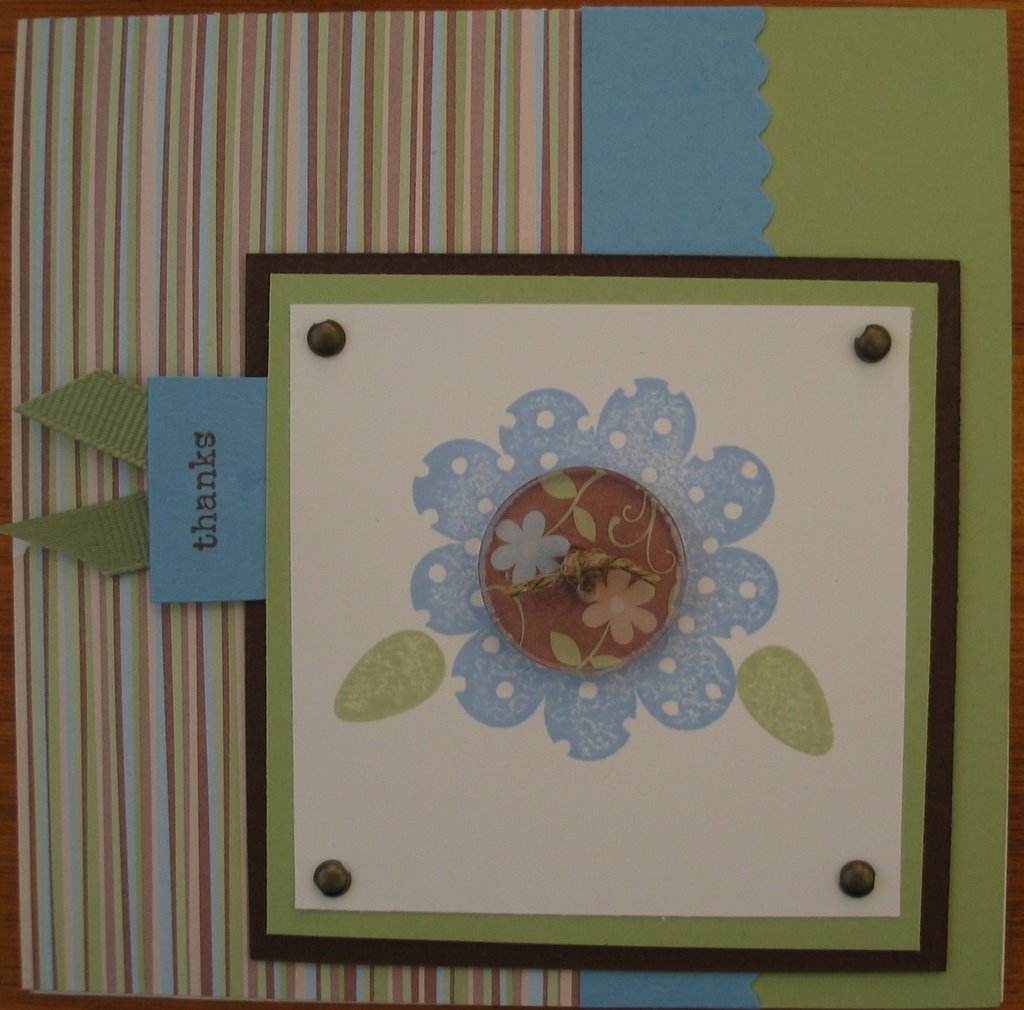
 This is a thank you card I made yesterday. I just love this color combination! Certainly Celery, Bashful Blue and Close to Cocoa. Finished size is 5x5.
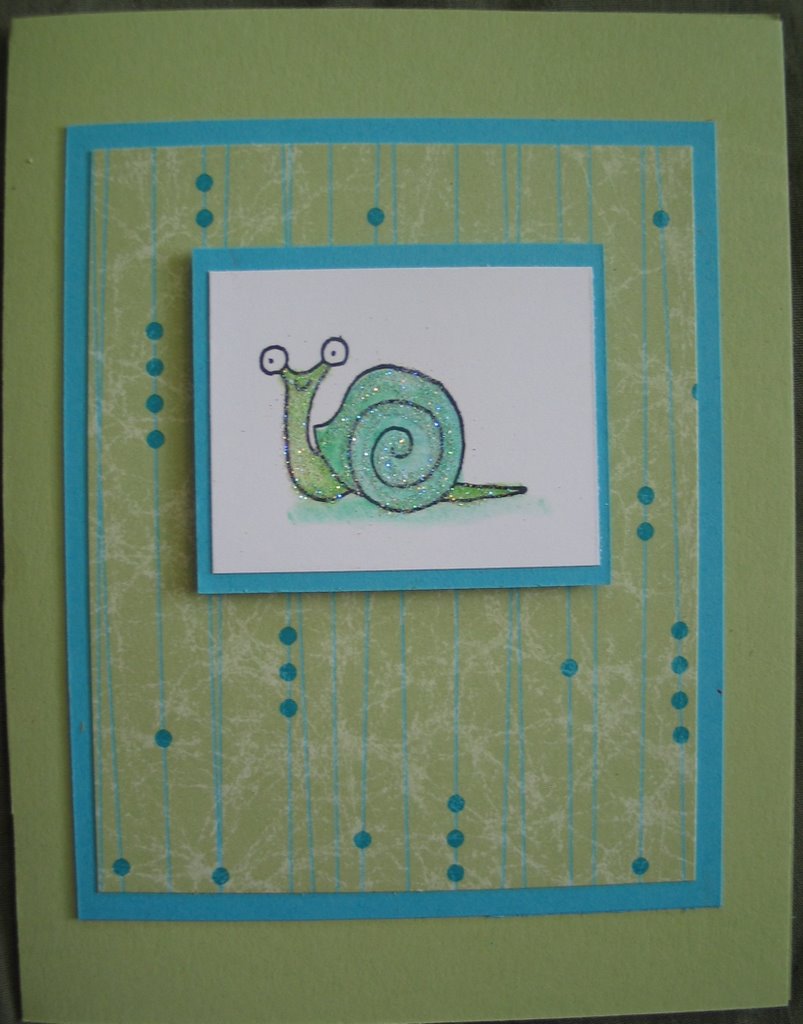
All stamps, ink, paper and embellishments are Stampin' Up!
This is a thank you card I made yesterday. I just love this color combination! Certainly Celery, Bashful Blue and Close to Cocoa. Finished size is 5x5.


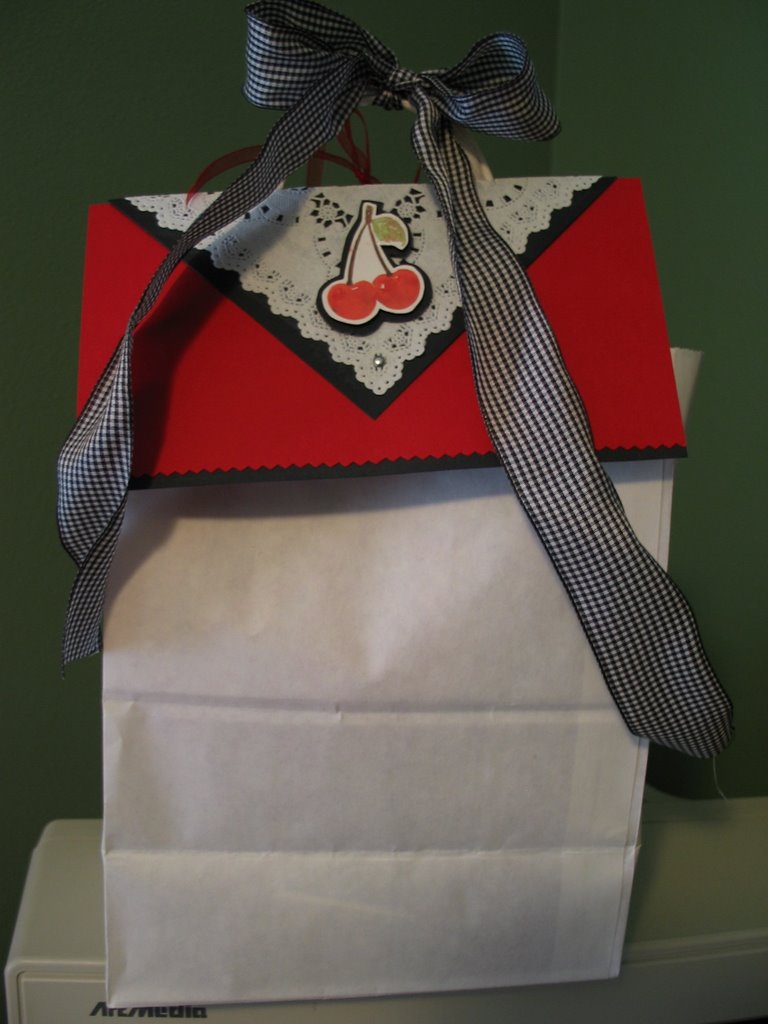 Here is a card and gift bag I made for my BF's birthday 2 years ago. We went out for tea at the Pomeroy House in Washington and had a great time. Stamps, ink and paper are Stampin' Up!

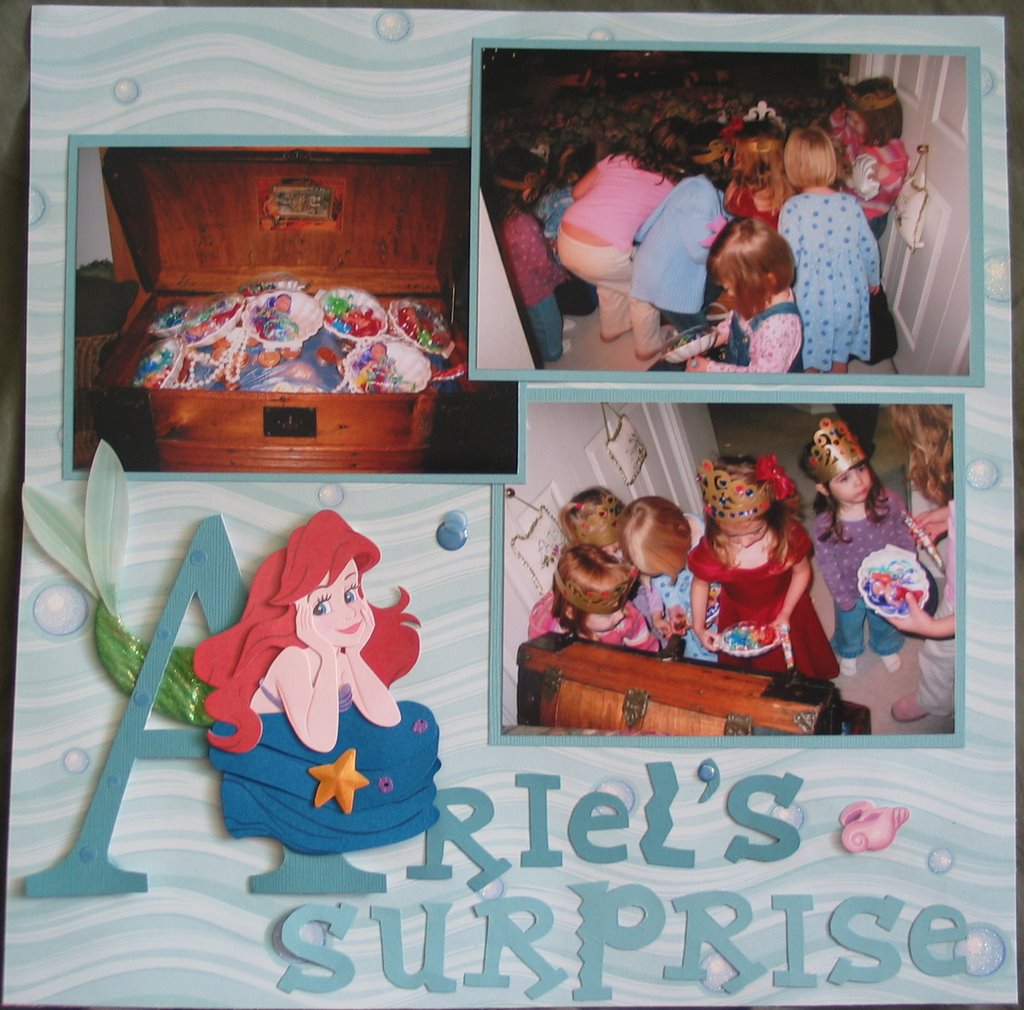
 Ephemera: (uh-fem-er-a) n. 1. ornamental paper embellishments for scrapbooking, cards, collage or altered books. 2. printed material of passing interest, as in periodicals or pamphlets.
 The bubble background on this page was made by doing the following:
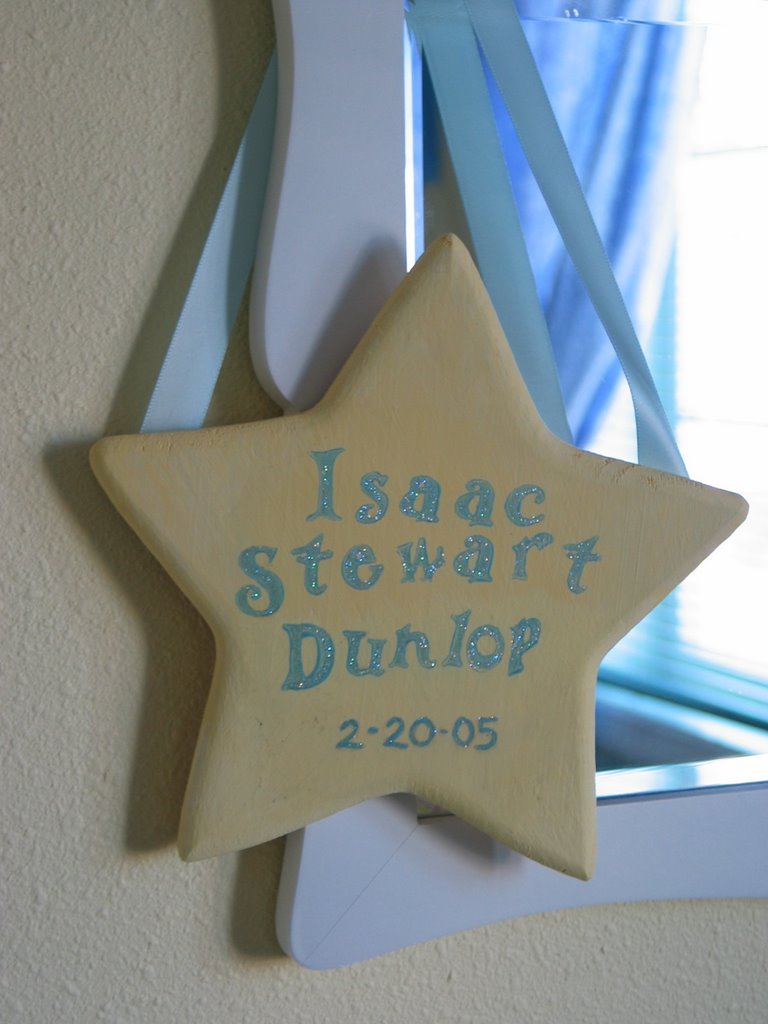
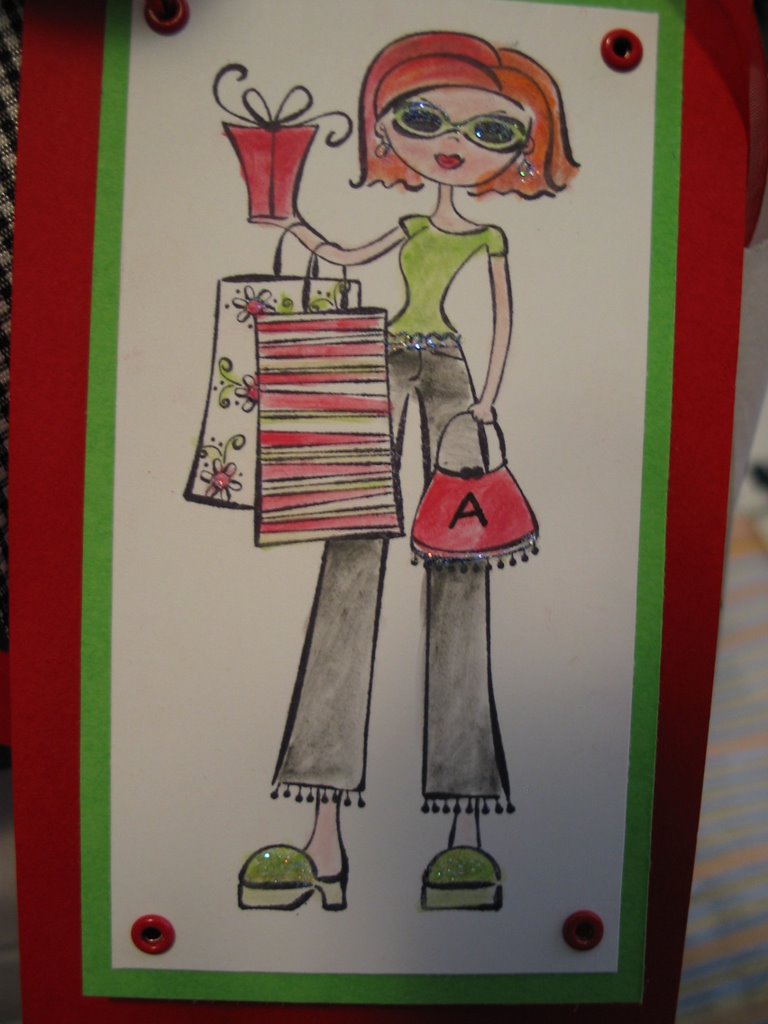
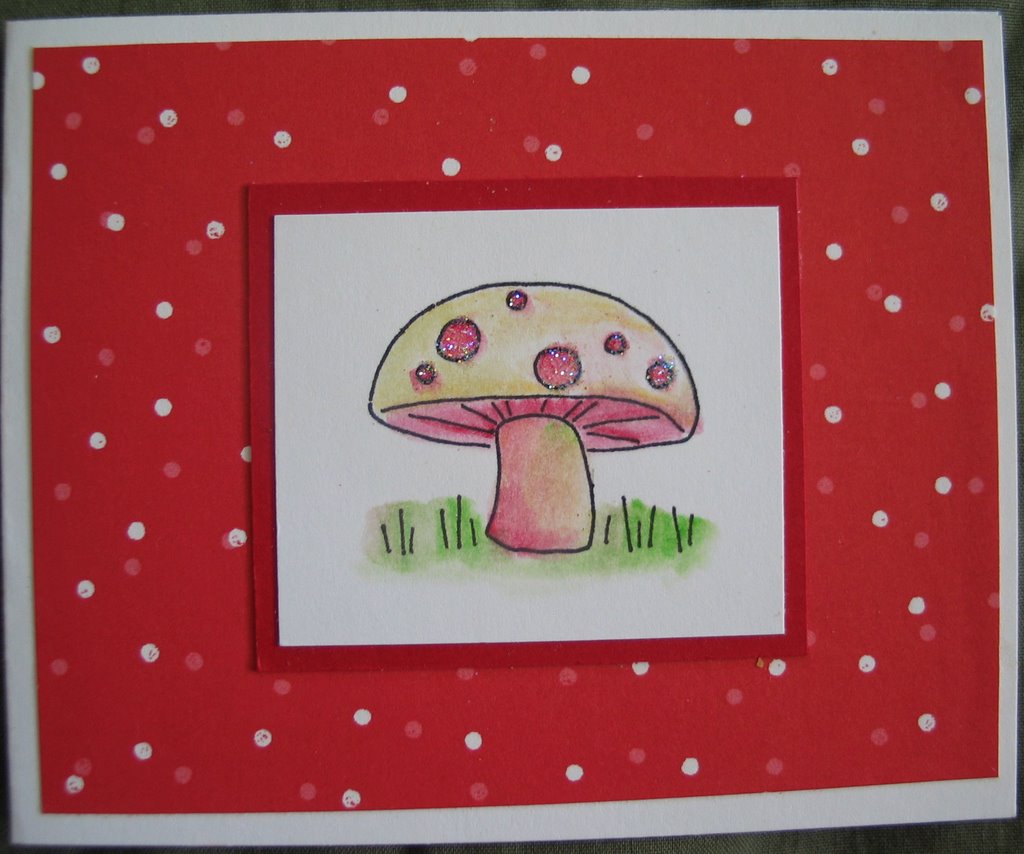
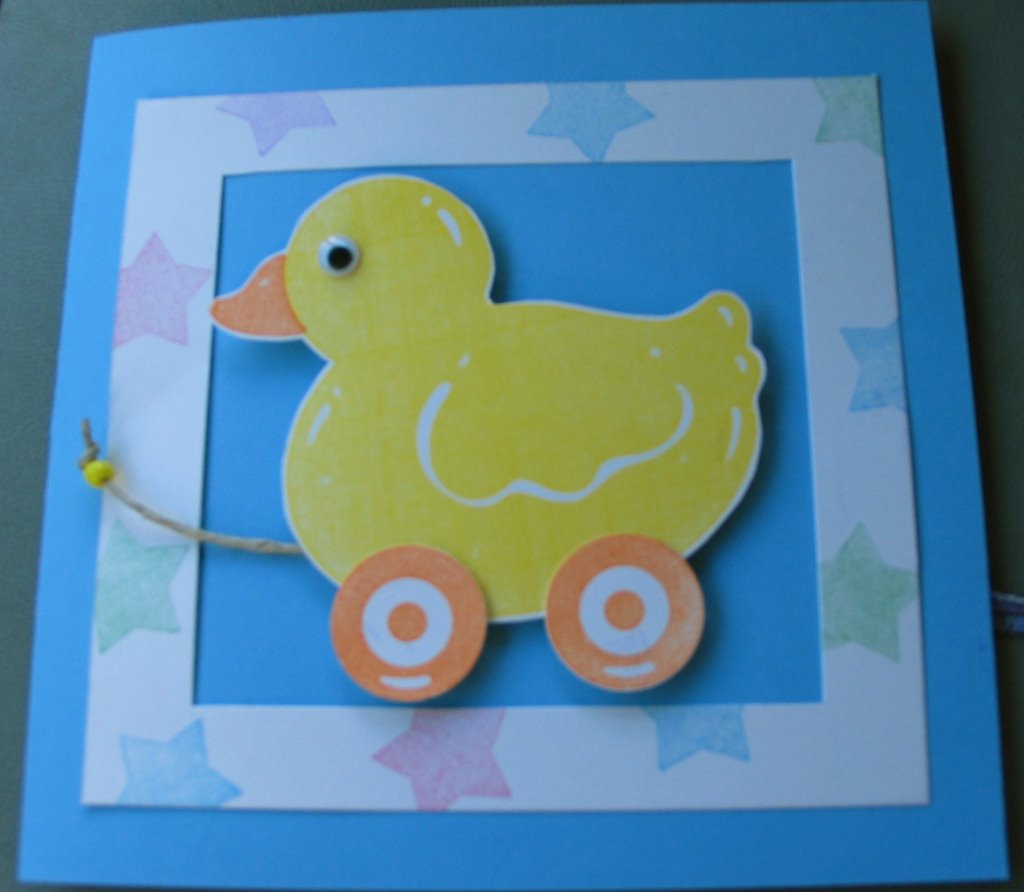 I made this for my niece on her first birthday.
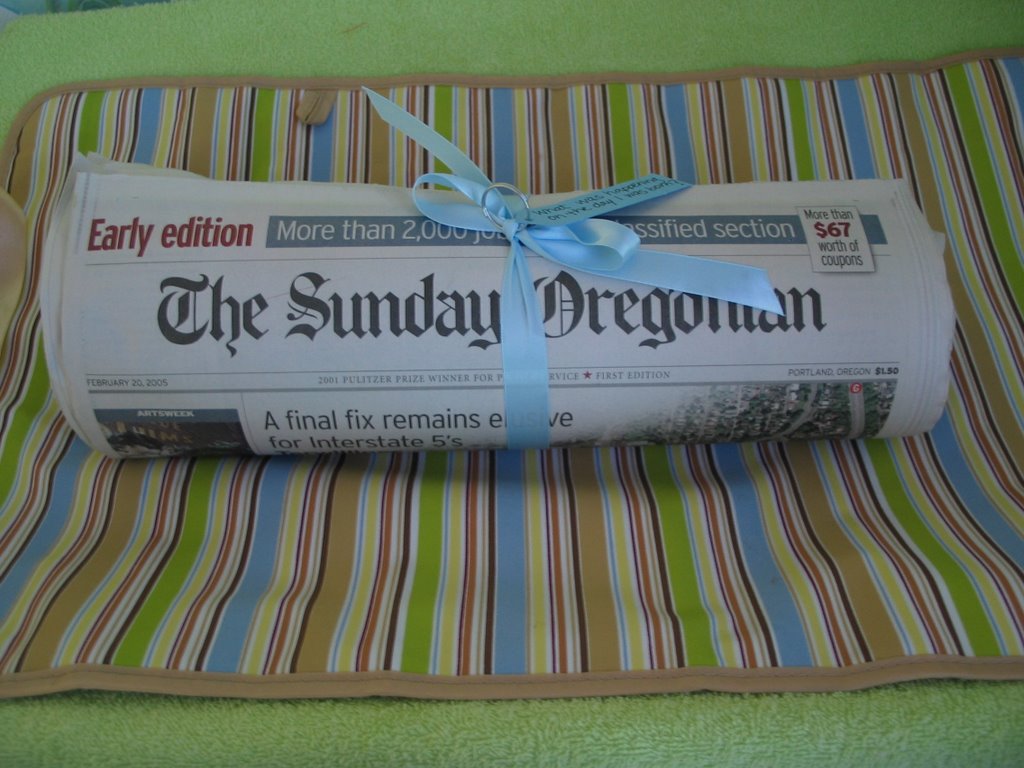
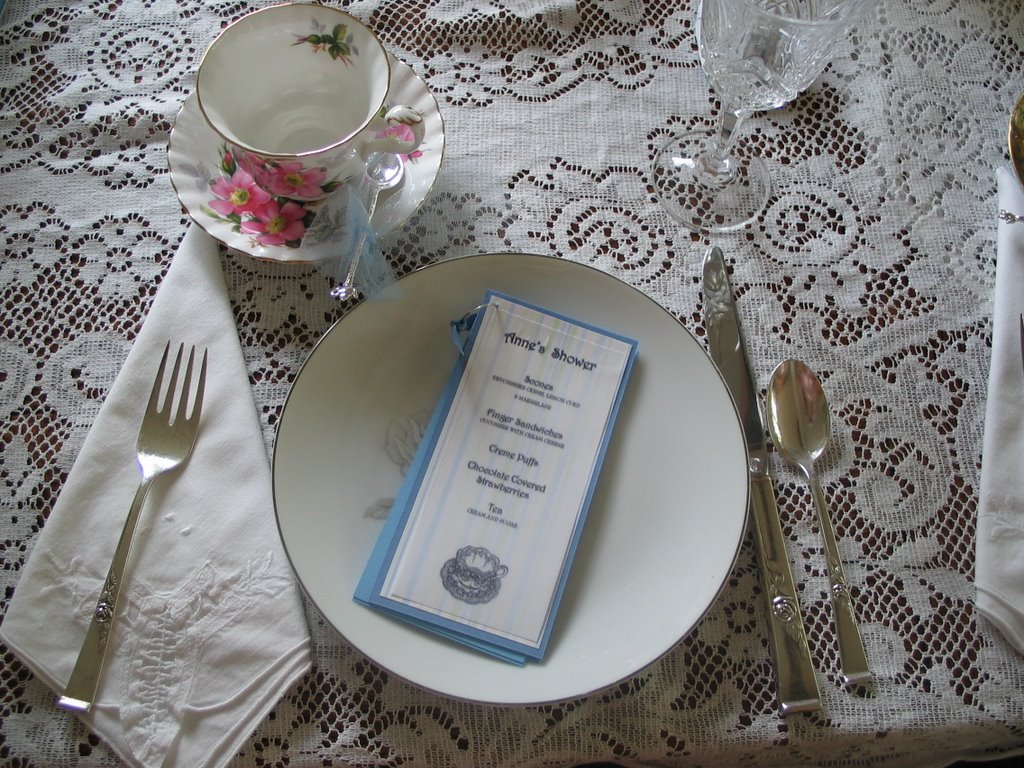 When I threw a baby shower for my friend Anne, we decided to do a tea. So I made up a little booklet with the menu on the front. On the inside there were pages that told the history of tea, how to brew the perfect cup of tea as well as a few tea recipes (scones etc.) It's hard to tell in the photo, but the booklet it hole punched at the top left corner and held together with a ring that has blue ribbon tied to it. I also made the invites that turned out sooo cute, but I didn't take any pictures. I will post a picture when I find my copy of the invite. (it's probably in a box somewhere in the garage...not unpacked from the move yet!) For party favors, everyone got to
  take home a little silver tea spoon.
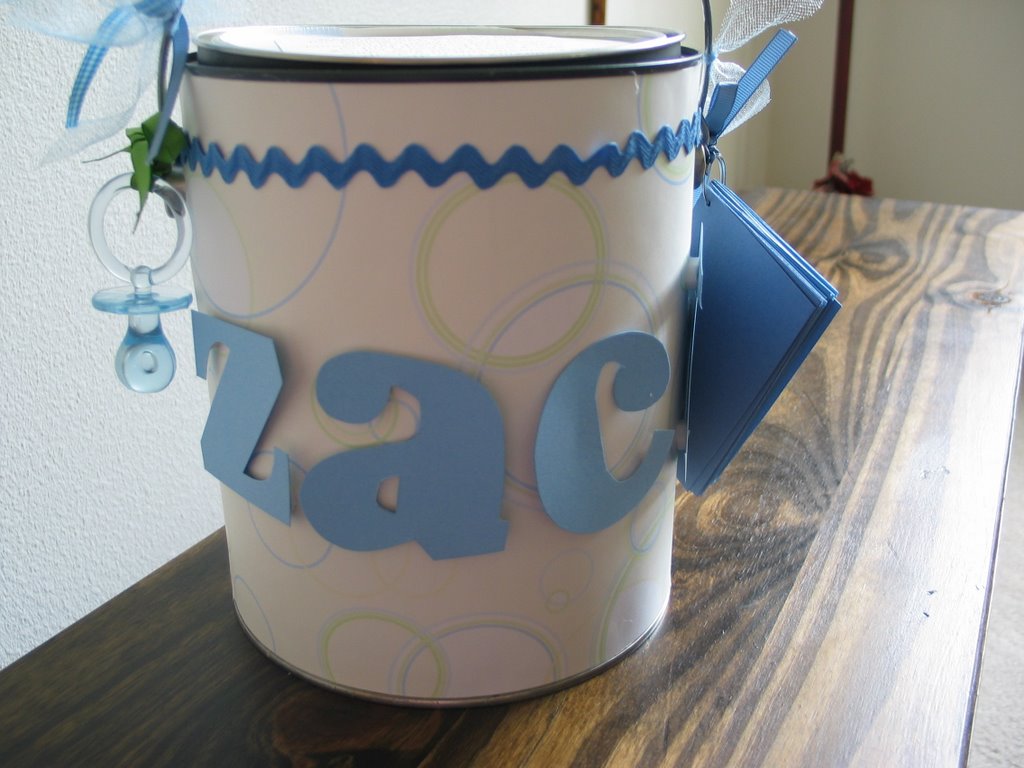 Here is a paint can I did for my friend's baby shower (18 months ago). There are small pieces of blue paper attached to the side and inside there were things for making baby scrapbooks. On the lid, the text reads:
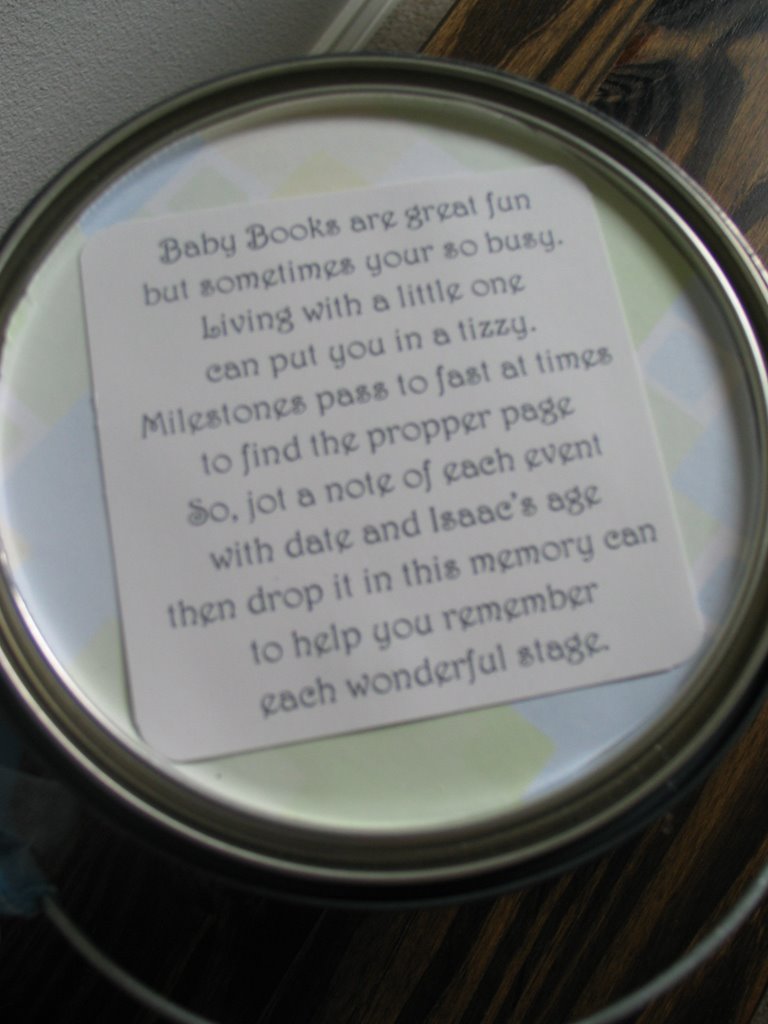
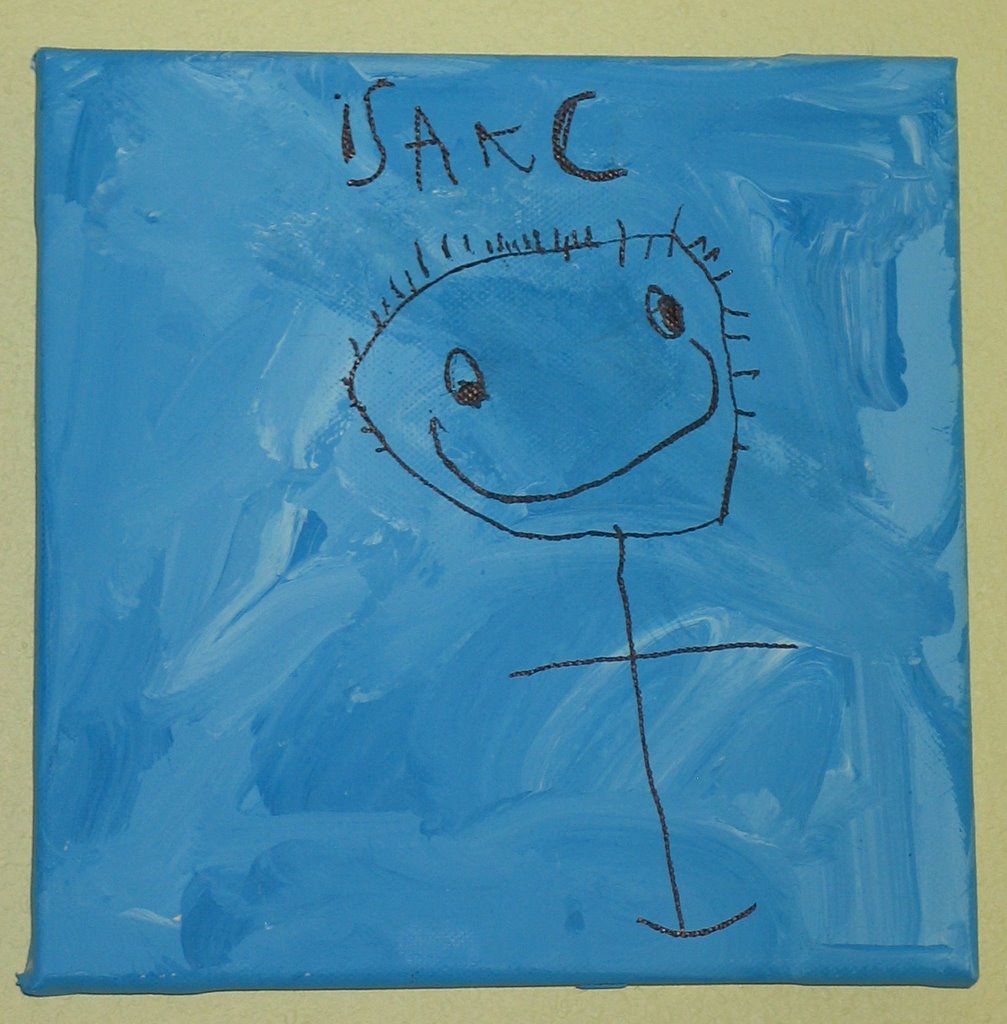
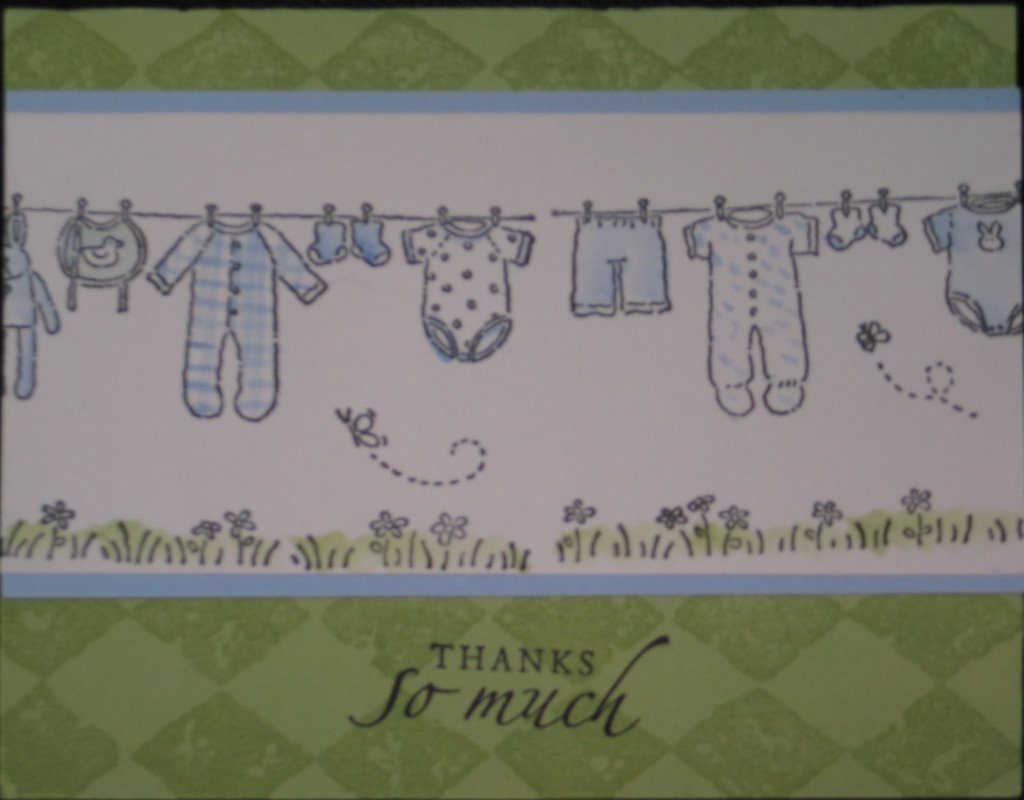 This is a thank you card that I made for everyone who gave me baby gifts after baby #3 was born. By the time you have 3 kids, people just kind of assume you have all you need. Although we did have most everything, all the clothes for H were the wrong season, so I was gratful to have some new clothes for him...sweaters in August just didn't cut it!!!


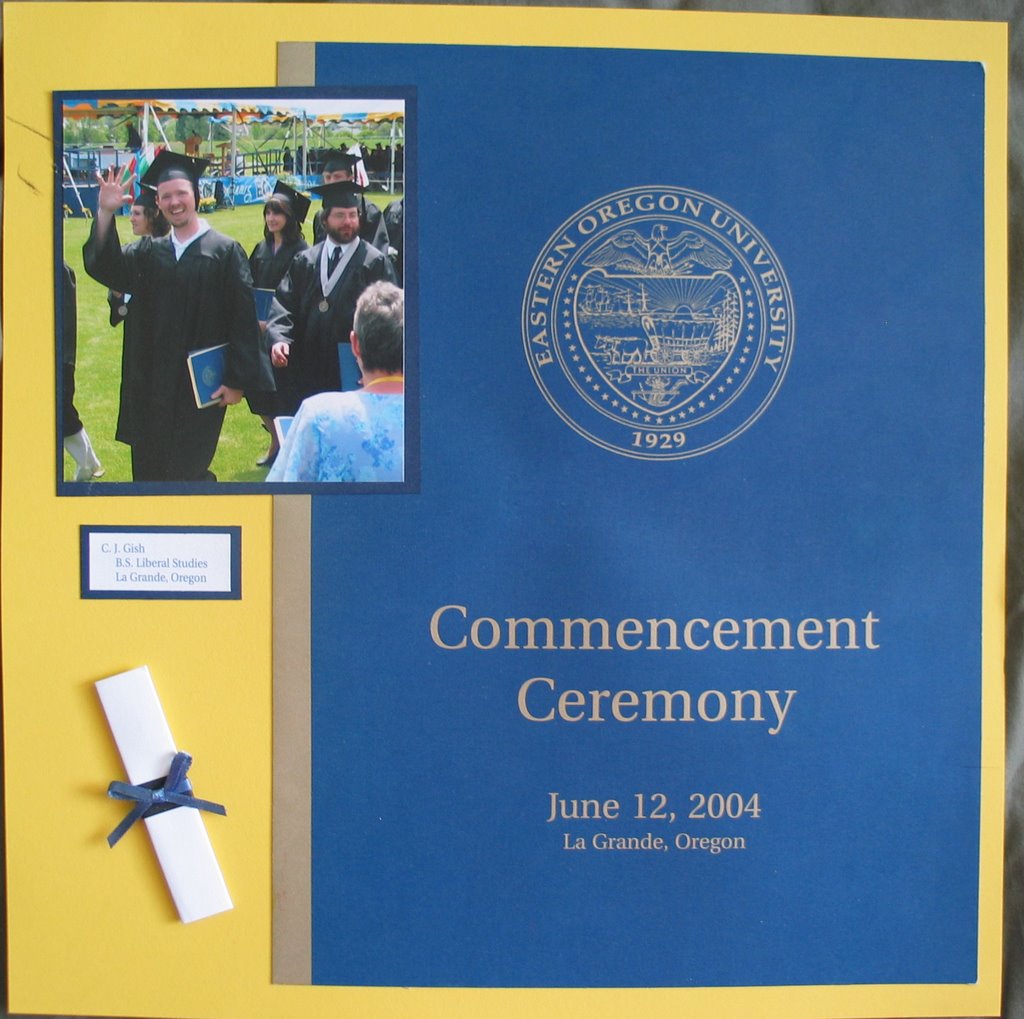
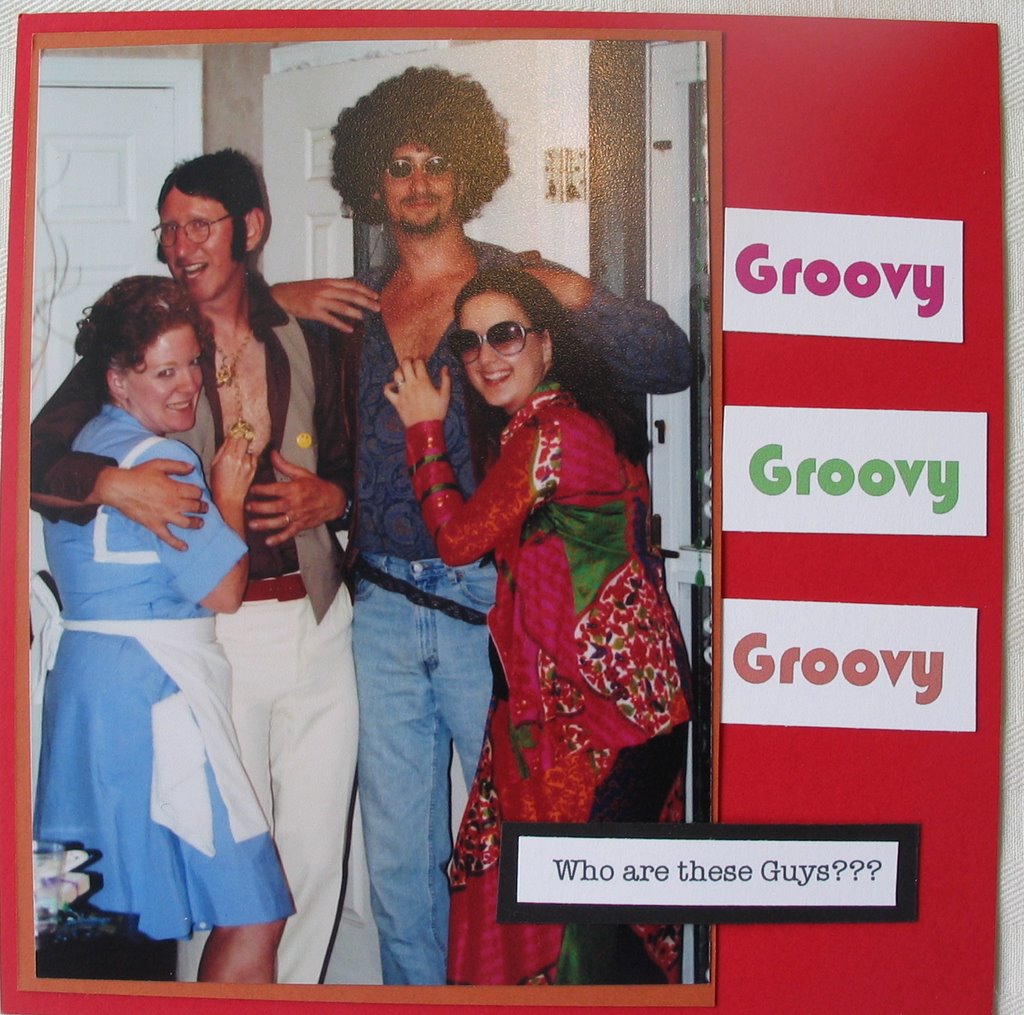
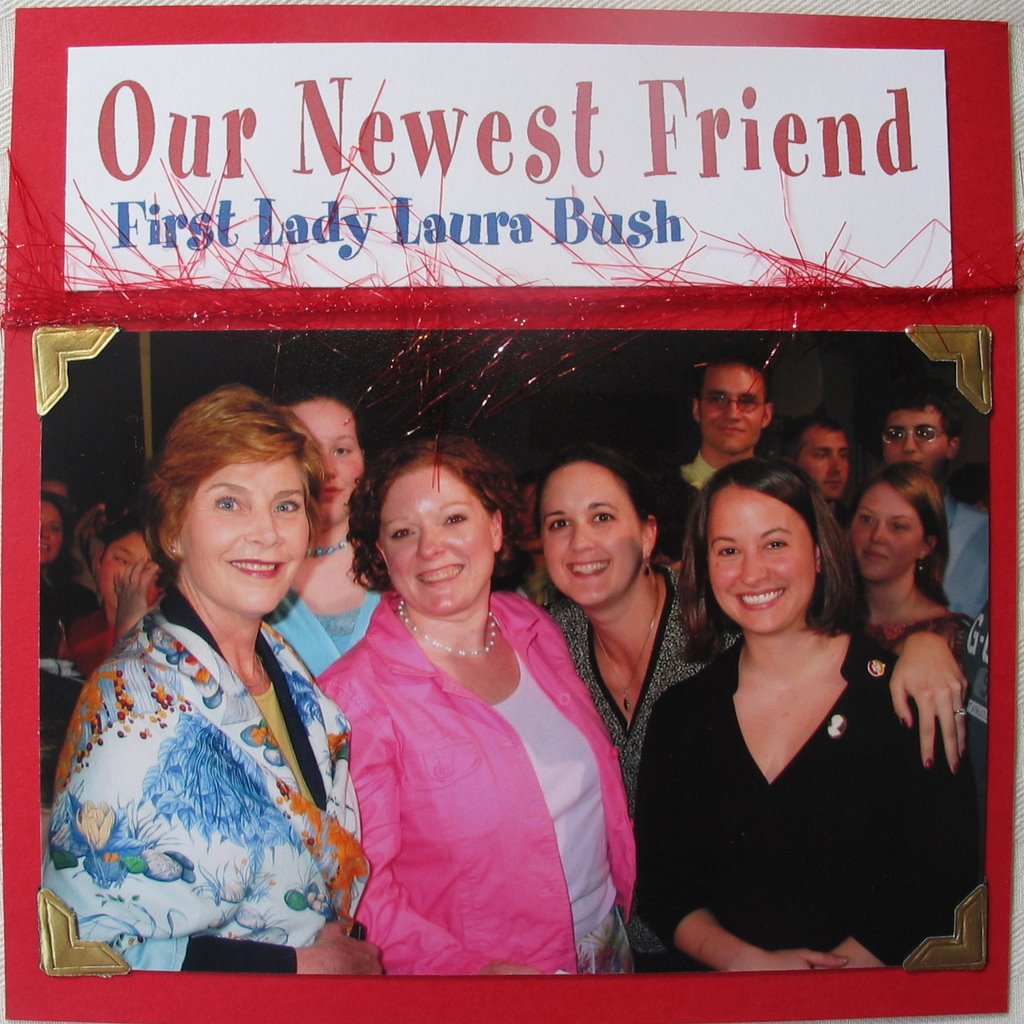
 As usual I still need to add some more journaling. This is our friend CJ from Journalism school. It was great to see him continue his education and accomplish some goals he set for himself, like being the first person in his family to get a bachelor's degree!
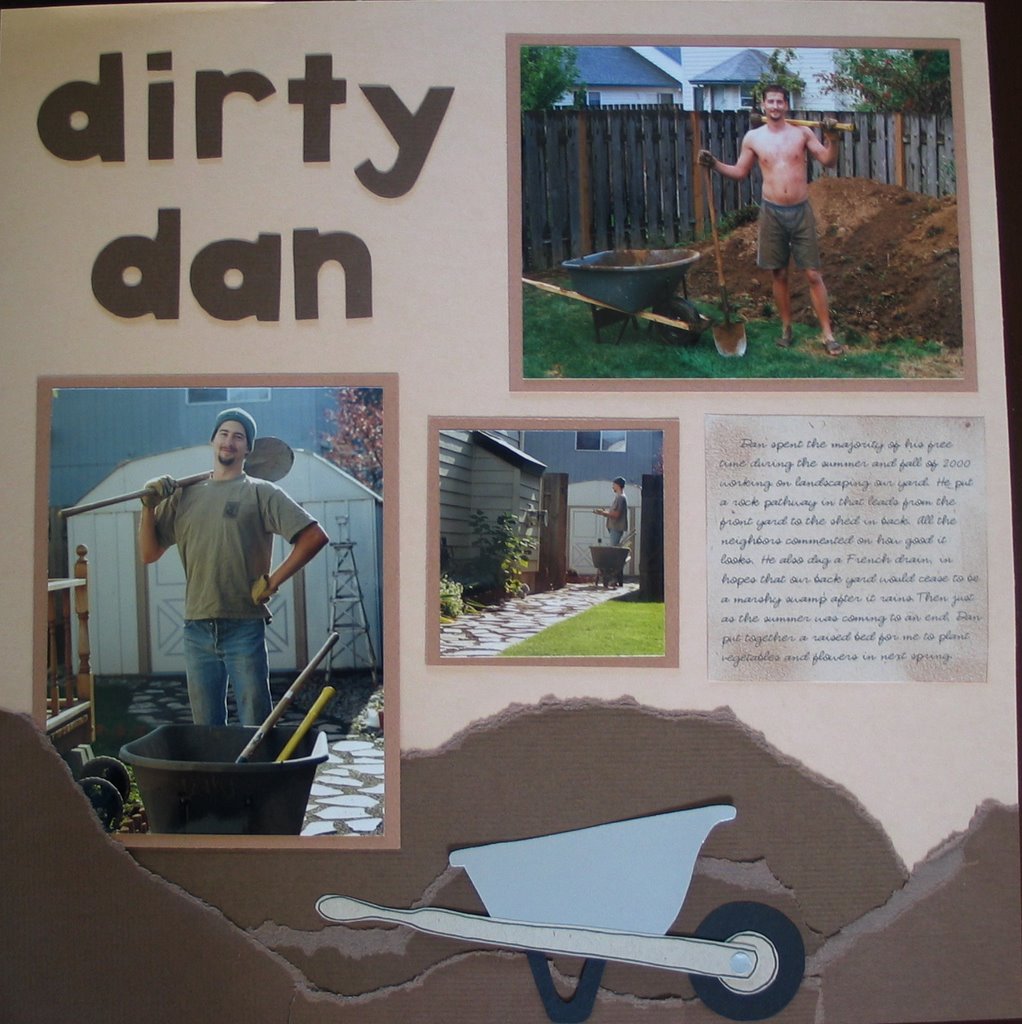 This page was done a long time ago after Dan put in the rock path at our house in Troudale. I cut out the wheel barrow from a pattern and the "dirt" was just ripped out of brown card stock.
 I was asked by my friend's mom to creat a photo display for a coffee table top that would go in their family cabin. I used background paper from Karen Foster Design as well as photo corners a dried fern frond and a couple brass book plates I got from 2 peas.


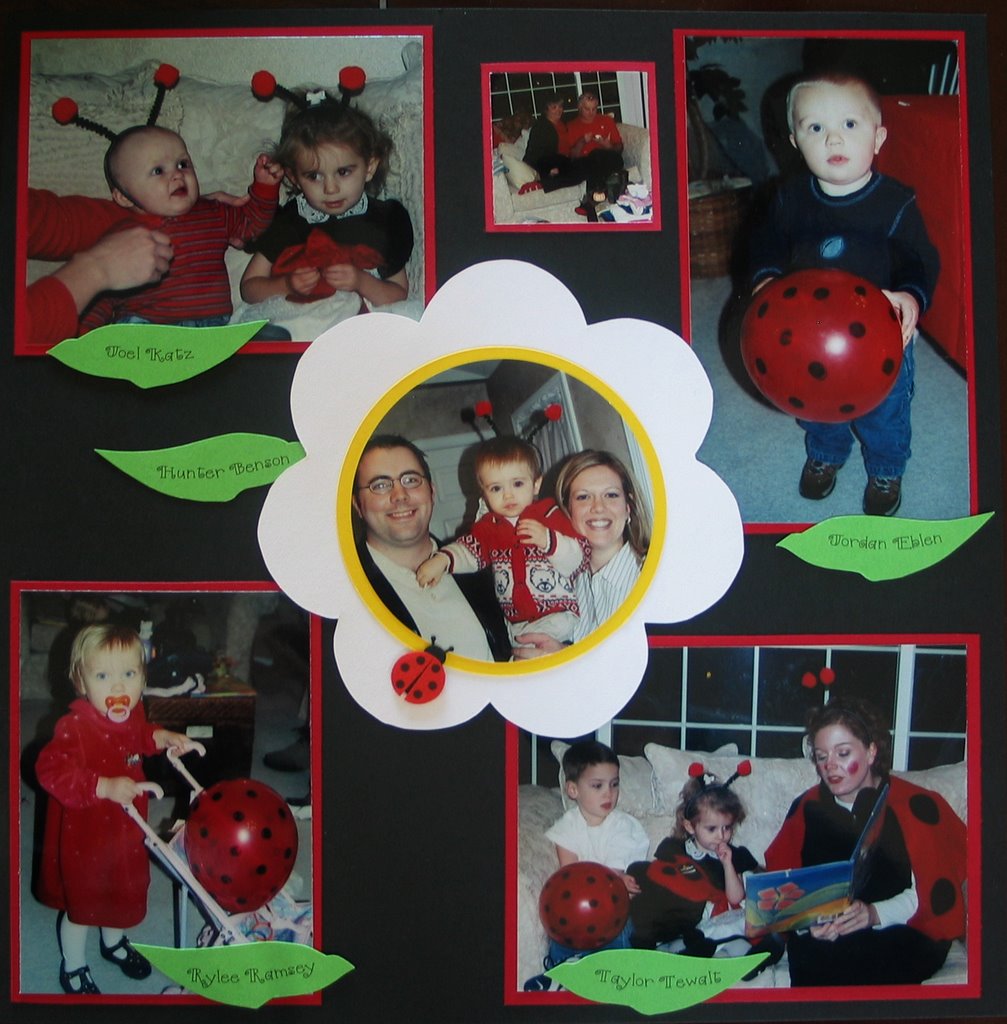
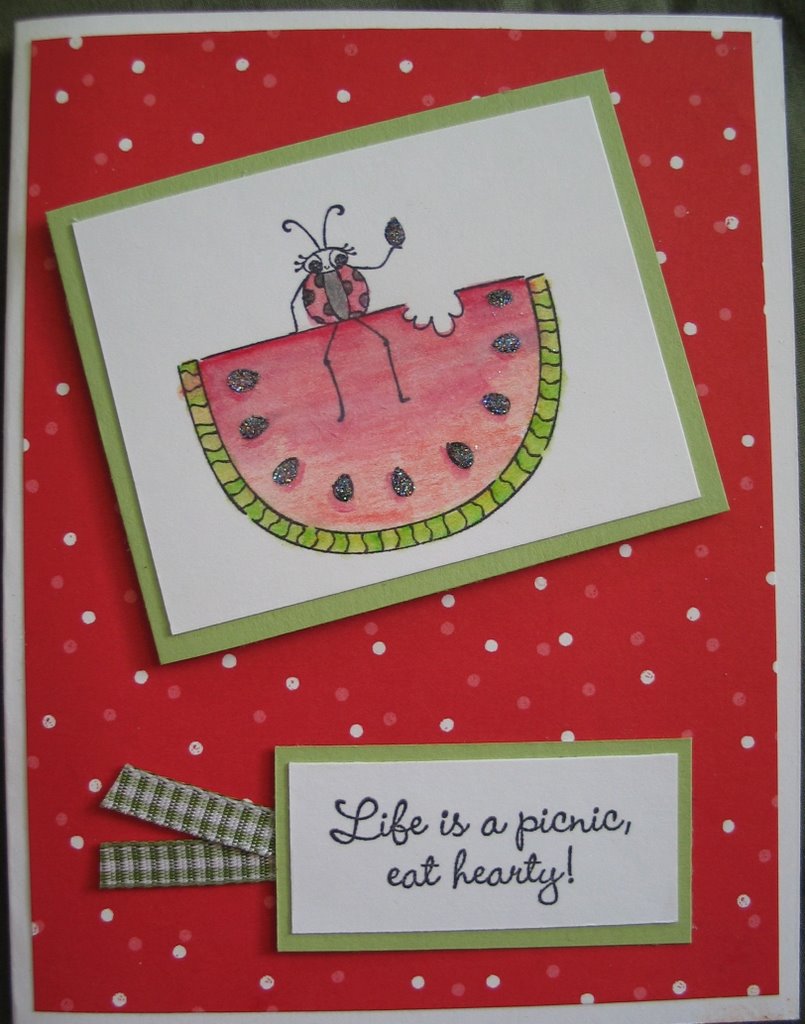
 Solid colored paper is Stampin' Up! Ladybug stickers are Jolee's Botique